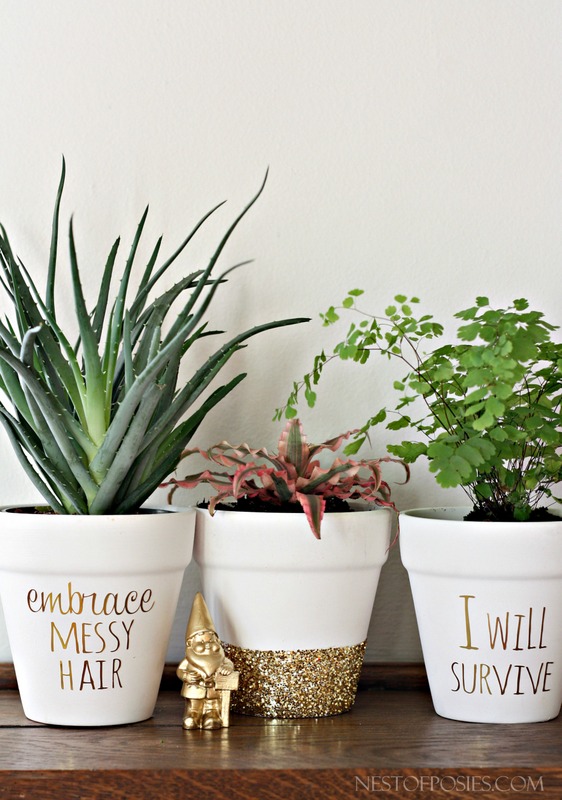
I have had the funnest time making these Gold Lettering Flower Pots! I am loving the gold trend lately, and this is such an easy project to bring in a touch of gold here & there in your home. And don’t forget you’re bringing in some extra oxygen with the plants too! haha!
I love adding some whimsy style to our home, and when that style matches my personality to a “T” ~ I love it even more.
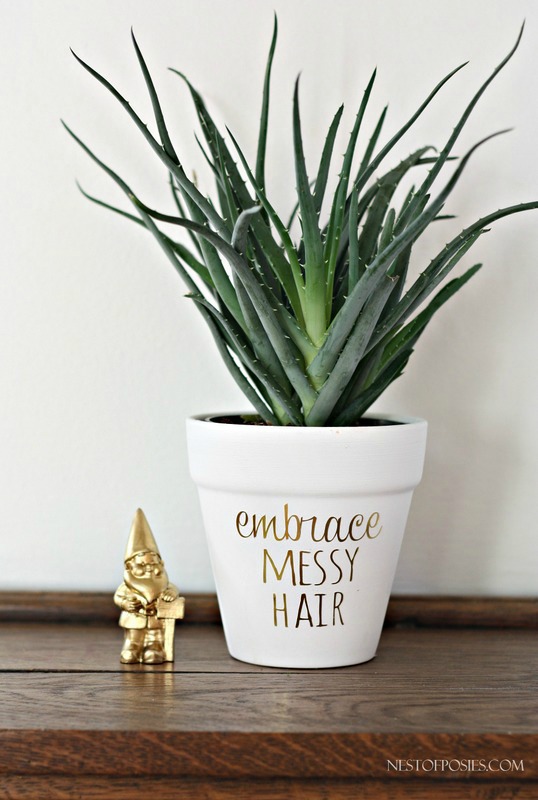
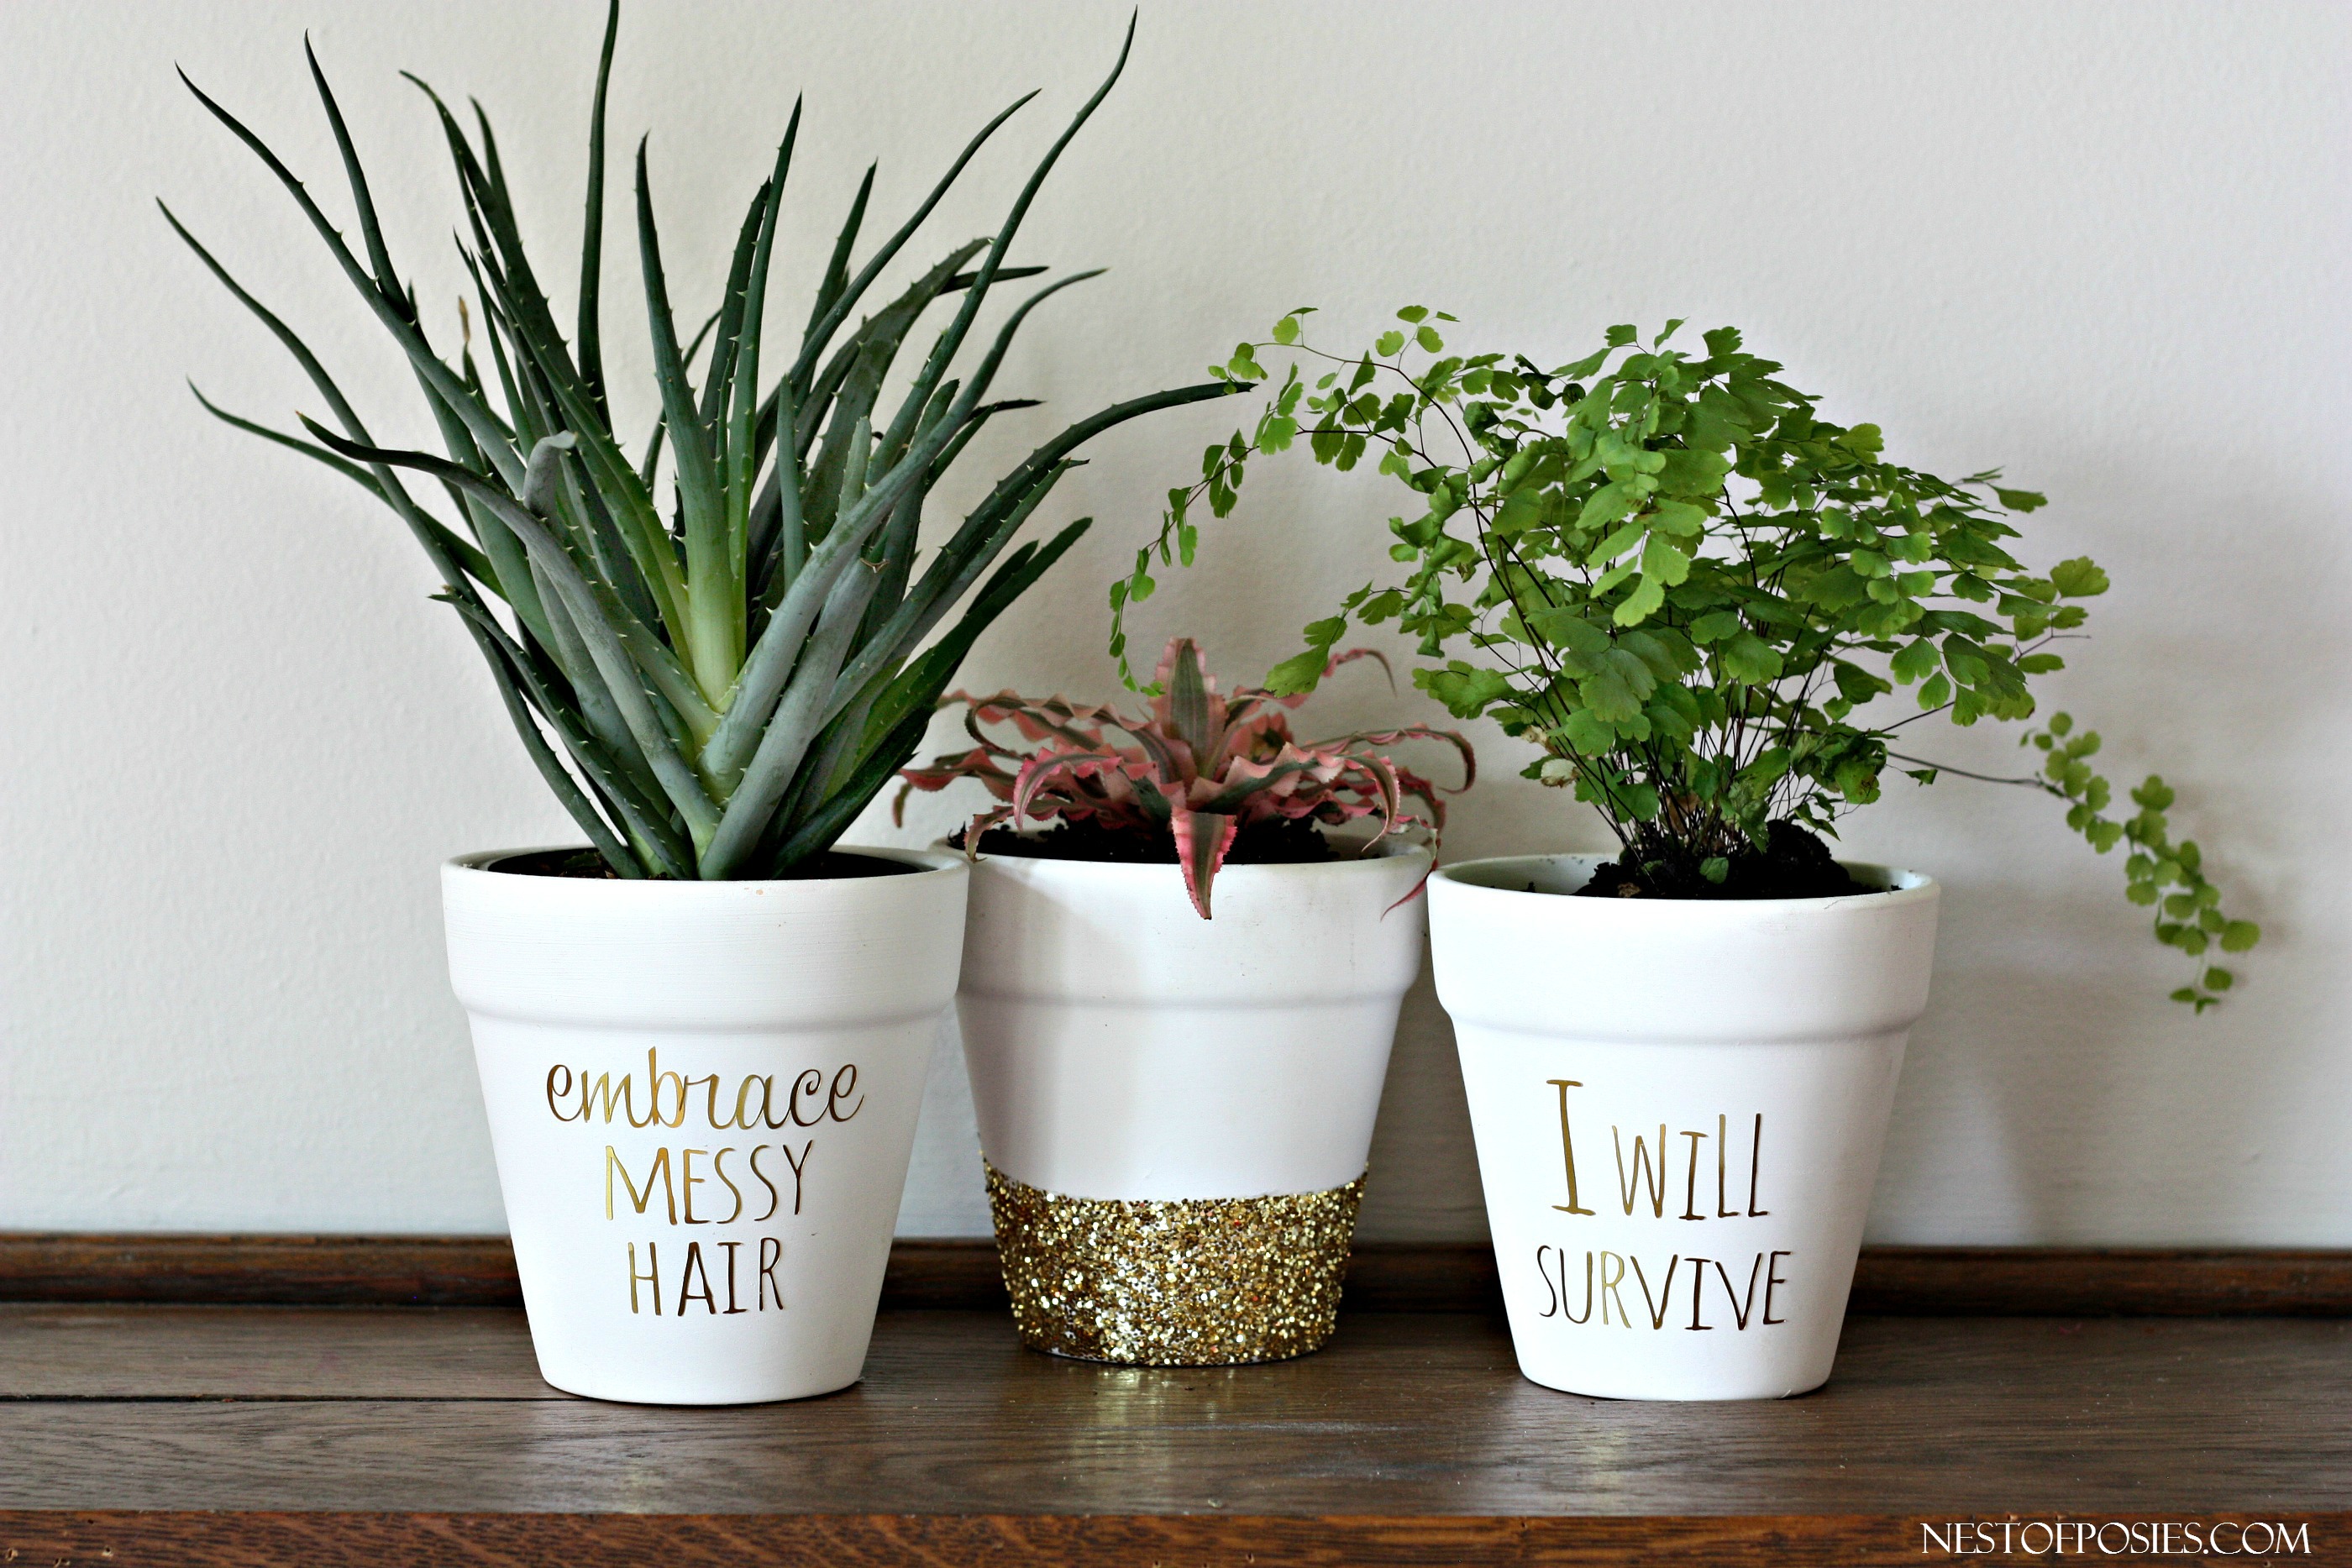
Recently, I purchased a shirt that says “Embrace Messy Hair” which is so me, btw. You can see my crazy wind blown selfie instagram pic if you click over here, but I thought how fun would that be to put that saying on a pot with a crazy succulent plant???
So I went for it and I love how they all turned out!
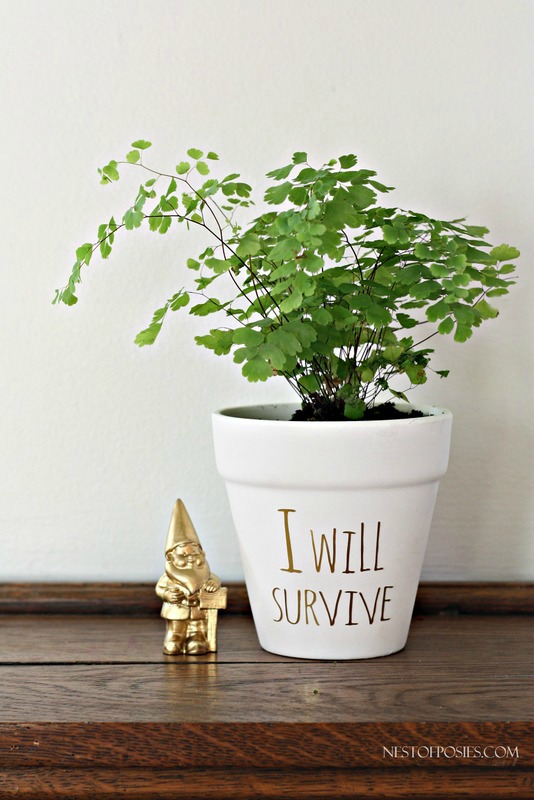
Would you believe I found these flower pots at the Dollar Tree??!! They’re the perfect size for succulents or a small indoor plant. On one side they had some flowers painted or mod podge(?) on them, so I used a primer & then repainted the pots with 2 coats of acrylic white paint to cover up the flowers so that the pots were a solid white. Easy Peasy!
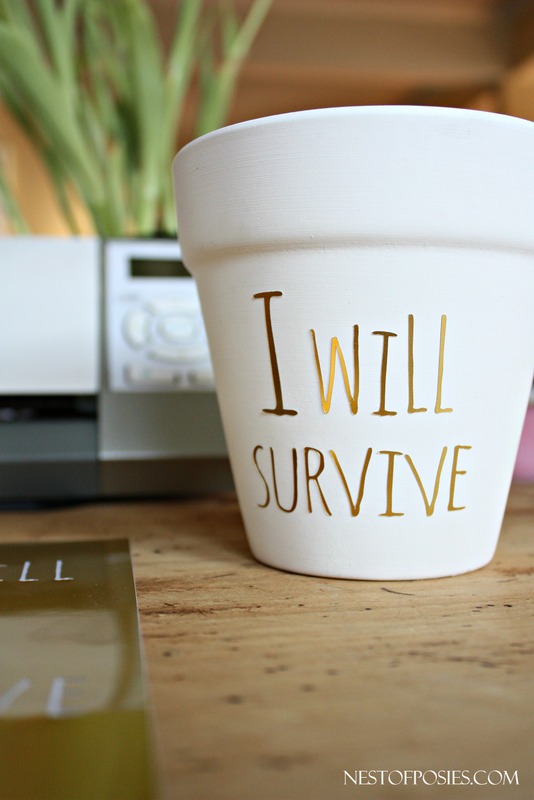
I recently have been crafting with the Gold Foil printable paper. May I stop right here and say how much I love it. It truly is incredible! It is so much easier to use than the vinyl. It’s thicker, so it doesn’t flip or flop as much when you’re trying to stick those tiny letters all in place. I was able to finish each pot within minutes. – Which would NEVER happen if I were using vinyl. Vinyl takes forever to get in place.
So I used my Silhouette Cameo machine and printed each saying out very quickly. Obviously you can select what type of font you would like to use, and then apply to your pot or whatever you are working on.
This one above might be my favorite. Because it’s so me.
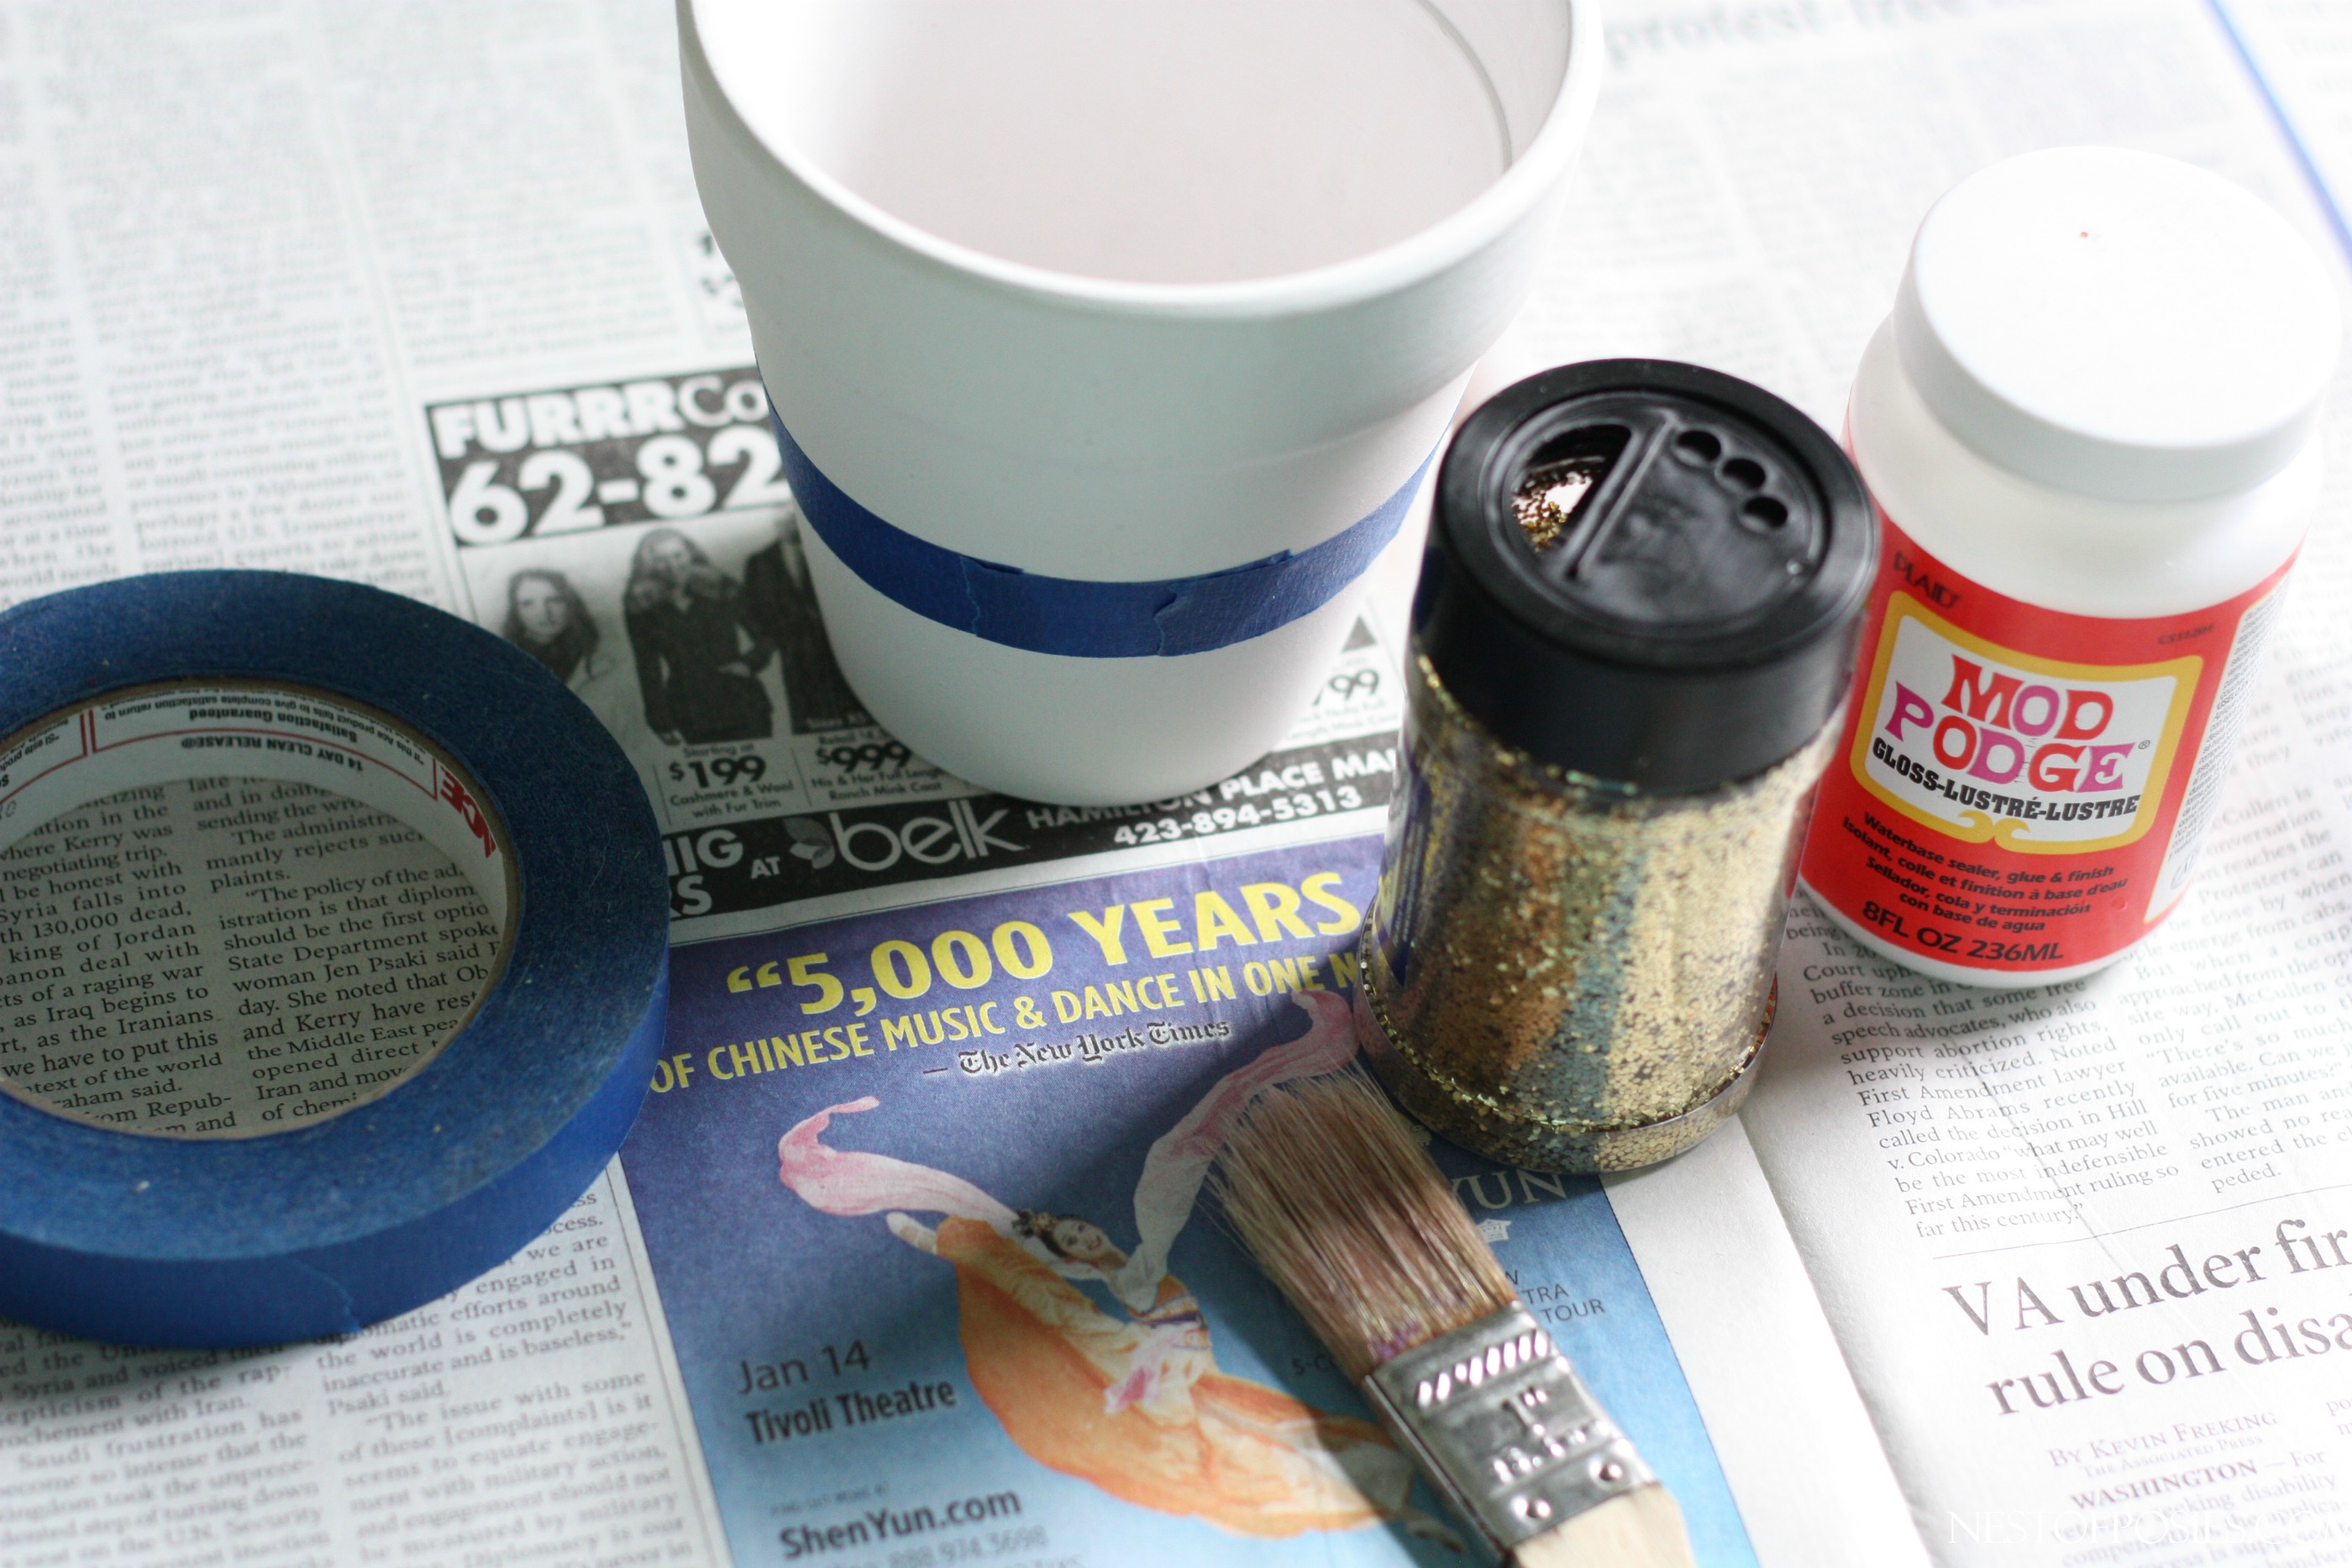
I also thought it would be fun to add some sparkle to my pot collection. So after painting the pot and making sure it was completely dried, I used painter’s tape and taped around the pot.
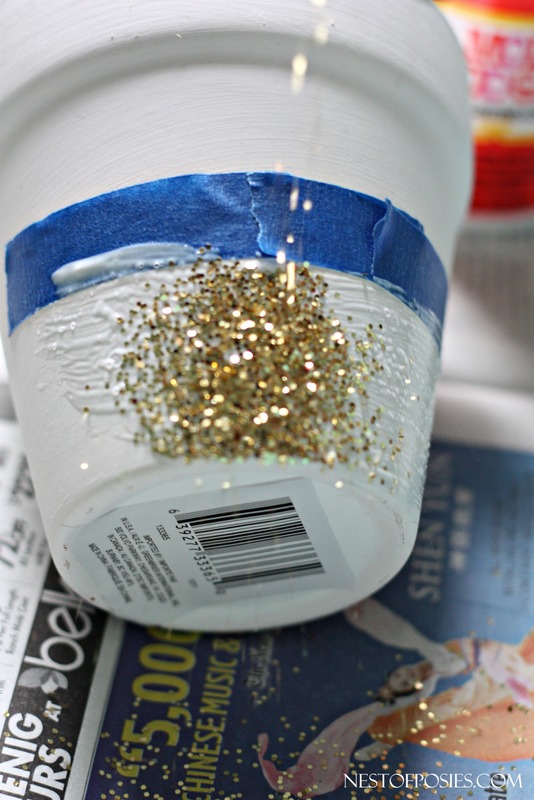
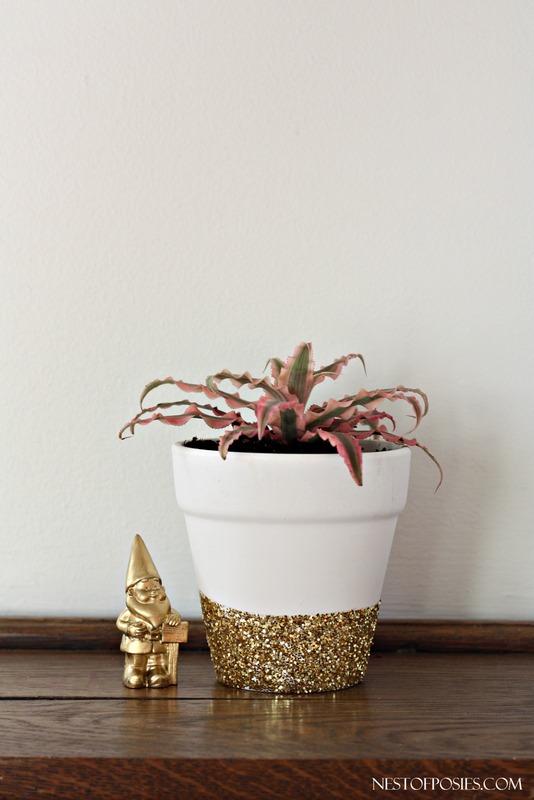
Then I applied Mod Podge to the pot and added my glitter. I worked with about 1/3 of the pot at a time. Your brush that you apply the Mod Podge with will get some glitter on it, but it will all come out once you rinse your brush with luke warm water. With this glitter pot you will need to allow it to dry completely, and then the next day go over the glitter with a coat of Mod Podge to keep the glitter in place. It “sets” the glitter. I love the contrast of the glitter with the other 2 pots.
But of course, I love all things glitter.
It’s fun to mix and match these around the house. They look great together as a cluster or by themselves.
The best part, is that this was such a fun project to make. You obviously could customize these for yourself or for anyone as a gift. These would be perfect for a Mother’s Day gift as well!
*This in not a sponsored post, but I did add some affiliate links in this post. The link for the gold foil printable paper is with Amazon, which at times has the gold foil on sale with Prime! So I thought it was worth mentioning, because the paper is truly fantastic!*
Let’s pin together! Do you like to pin crafty stuff, home decor, yummy recipes and kids stuff? Me too!
Follow Nest of Posies on Pinterest.
You might also like…
FIZZ – my favorite low calorie drink
DIY Glitter Mug (customize your own – dishwasher safe!)
