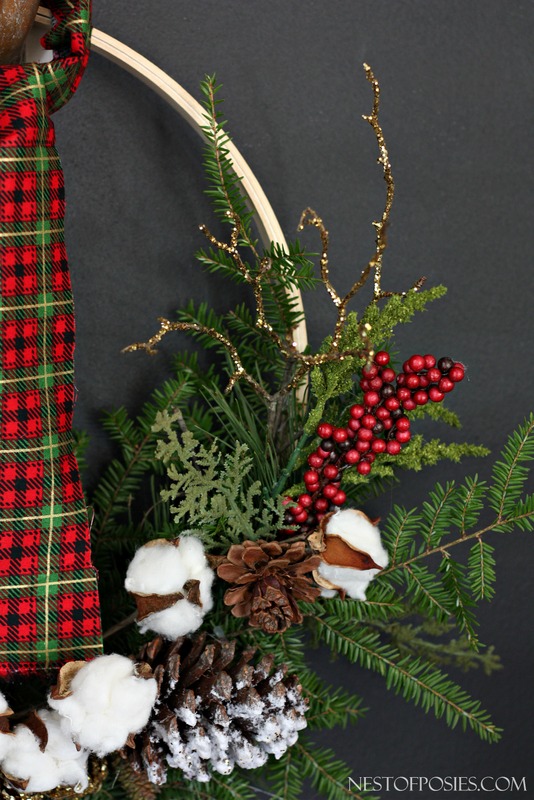
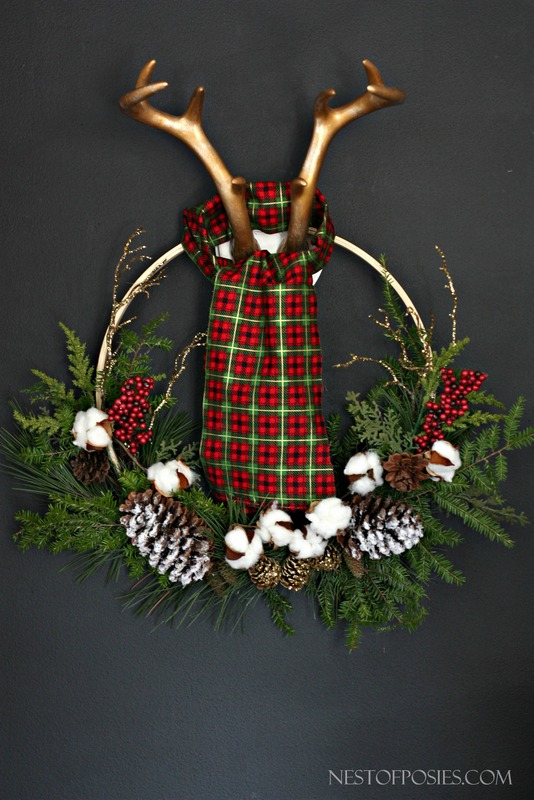
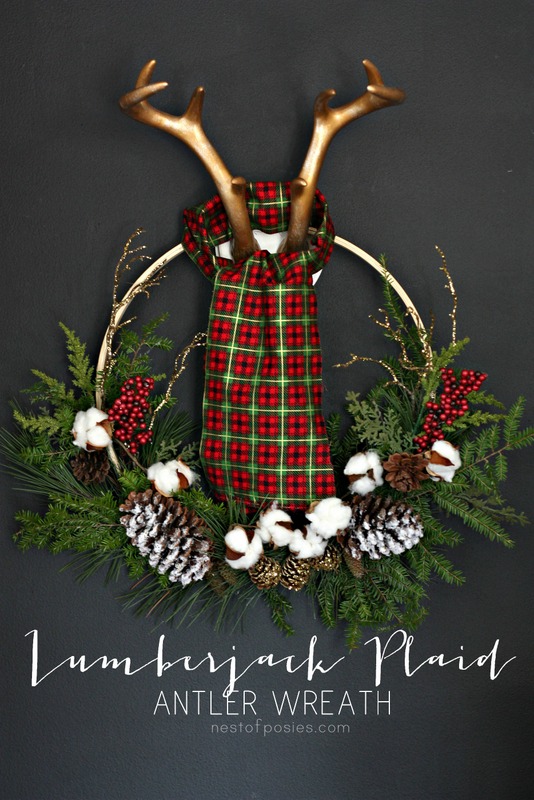
It seems to be tradition for me to kick off a holiday with a new wreath. It’s like my personal trademark. It always seems to set the tone for the rest of the season. And since I’ve been posting about Lumber Jack Plaid lately (I love the word “Lumber Jack” – don’t you?) I thought I would make a Lumber Jack Antler Wreath.
I absolutely love this wreath, and what made it even better is that it cost me a total of $6 dollars.

And here’s the entire collection of 15 New & Amazing Christmas Wreaths.
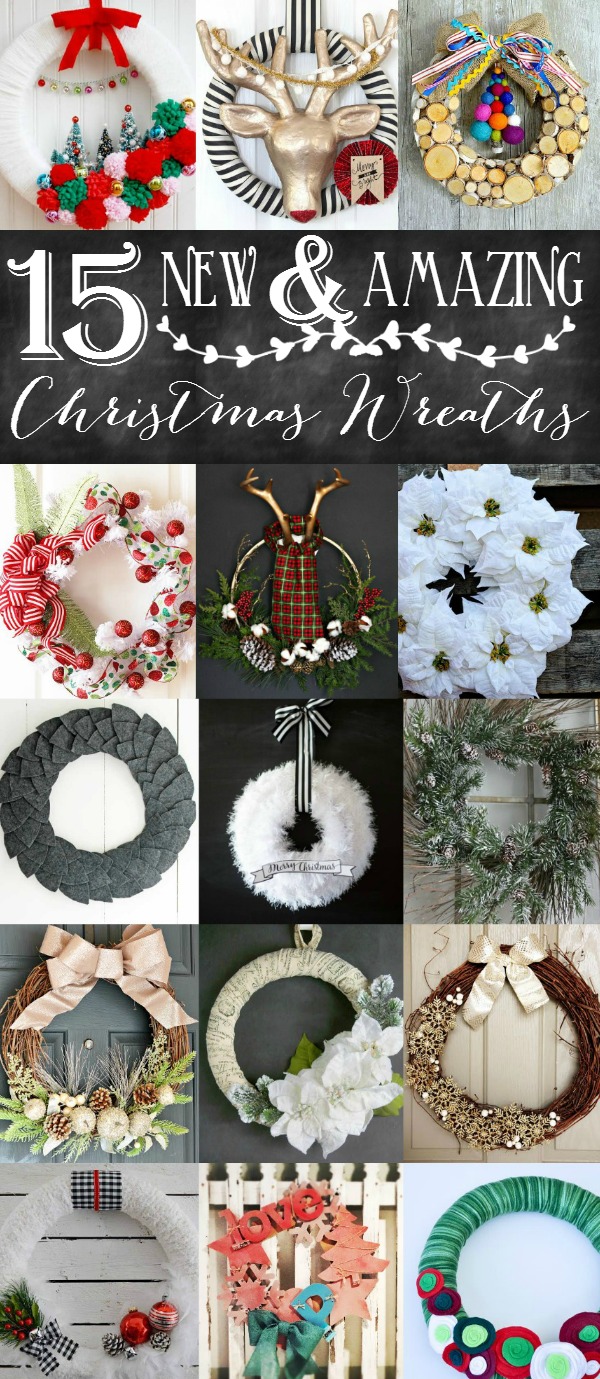
Aren’t they amazing? Below you will find the links to each of the brand new 2014 Christmas Wreaths. To appreciate all the lovely details of each wreath, click on each of the links.
Vintage Wonderland Wreath from Flamingo Toes
Rudolph Wreath from She’s Kinda Crafty
Woodland Tree Wreath by Tatertots and Jello
Christmas Craft Wreath from Positively Splendid
Lumber Jack Antler Wreath from Nest of Posies
Poinsettia Wreath from A Night Owl Blog
Simple Felt Leaf Wreath from The Shabby Creek Cottage
Easy Christmas Wreath from Just Destiny Mag
Rustic Christmas Wreath from Clean and Scentsible
Glitter Holiday Wreath from A Pumpkin and a Princess
Scripted Ribbon Poinsettia Wreath from The Scrap Shoppe Blog
Rustic Glam Holiday Wreath from Sweet Rose Studio
How to make a Snowy Jingle Bell Wreath from Fox Hollow Cottage
Fun Christmas Wreath from The Pennington Point
Christmas Felt Flower Wreath by Bombshell Bling
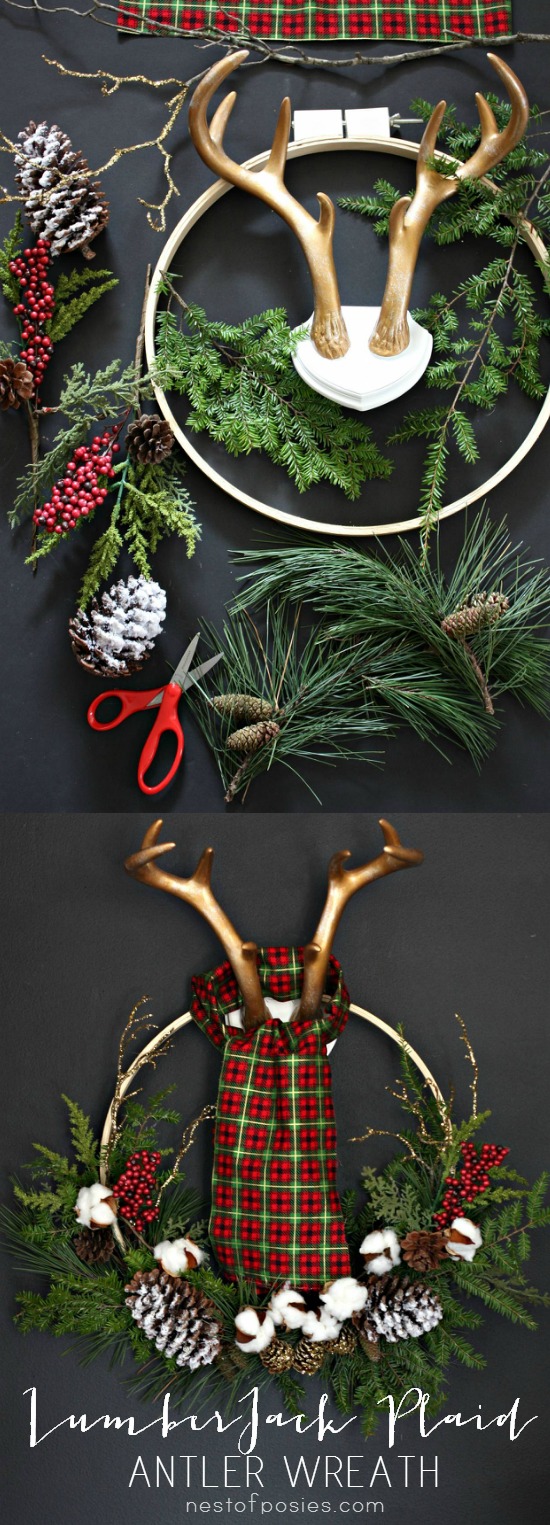
Now here’s the details of how I made my wreath. It was the easiest and so fun to make!
Here’s the supplies you’ll need:
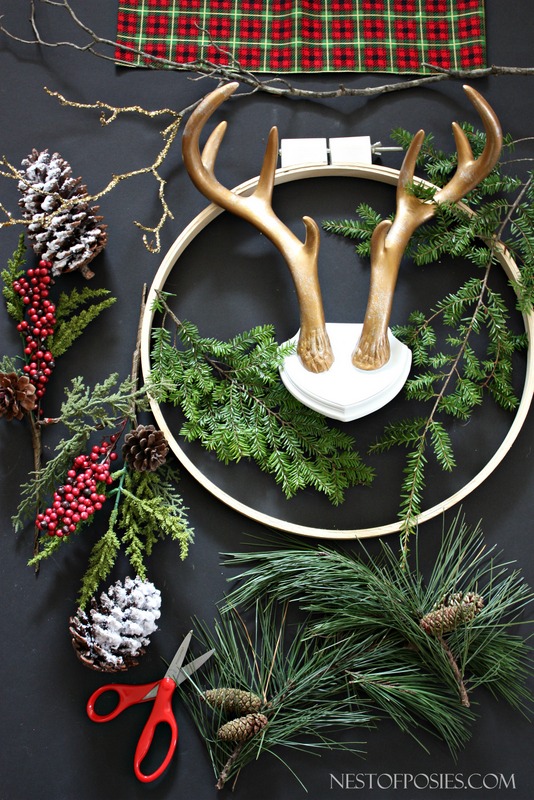
As I mentioned above, this wreath cost me a total of $6 to make. I purchased the embroidery hoop for $4 from Hobby Lobby, and the 2 red berry branchs (50% all Christmas) and the Lumber Jack Plaid fabric remnant cost me .85 cents. Everything else other than the antlers came from our backyard, even the pine cones. The antlers are from Target last year.
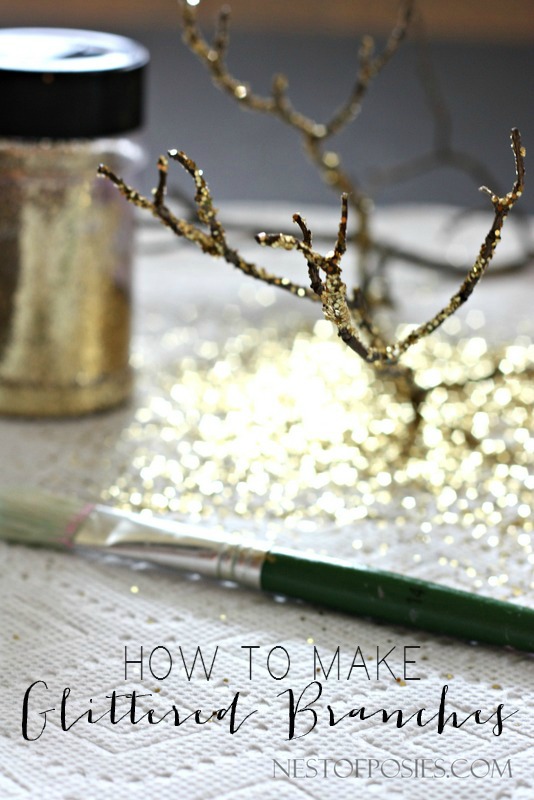
I also used the same technique that I used for my Glittered Pumpkin Stems for my branches. Just apply Mod Podge glue with a paint brush and dust glitter over the glue. I allowed the branches to dry overnite on our dining room table, and in the morning they are dry and ready for use. This is one of the fastest projects – like all of 5 minutes.
 >
>I started laying the branches & my tree clippings out and around the embroidery hoop, and came up with a plan and then starting gluing.
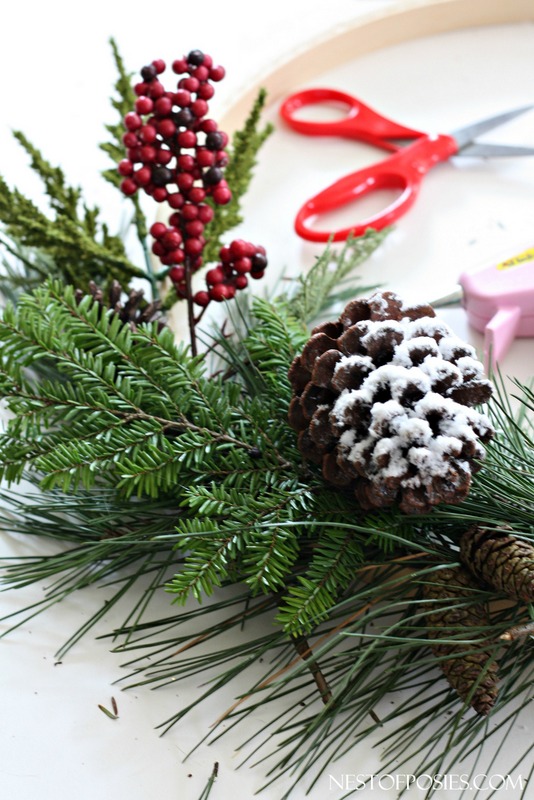
I always feel adding your items in layer by layer on each side at a time will make a difference in your wreath looking symmetrical. Sure, I want the imperfect beauty of twigs and branches being off center, but I want the sides to have the same layers. Hope that makes sense?!?
Because really it all comes down to what you like and what you want to add.
Any type of tree cuttings or shrubs will help you create a beautiful one of a kind Christmas wreath that is true to your style + have “homegrown” items of our own so you can treasure it through the holidays even more.
