This post of our Subway Tile Backsplash Installation is sponsored by Floor and Decor.
Truth be told, I’ve been dreaming of a white kitchen long before Pinterest ever existed. I wanted white cabinets, dark hard wood floors, white subway tile, and marble countertops for most of my adult life. I have several picture clippings, still in my hope chest from my favorite magazines from a long time ago of all white kitchens.
Fast forward to the Pinterest & “digital image” age we live in now, my dream of an all white kitchen has never changed. In fact, it became even more clear and I knew without a doubt that I would always look good in a white kitchen. 😉
So when I went into a Floor and Decor store for the very first time in Atlanta, there was really no need for me to look at anything else.
I knew I was destined to be with white subway tile.
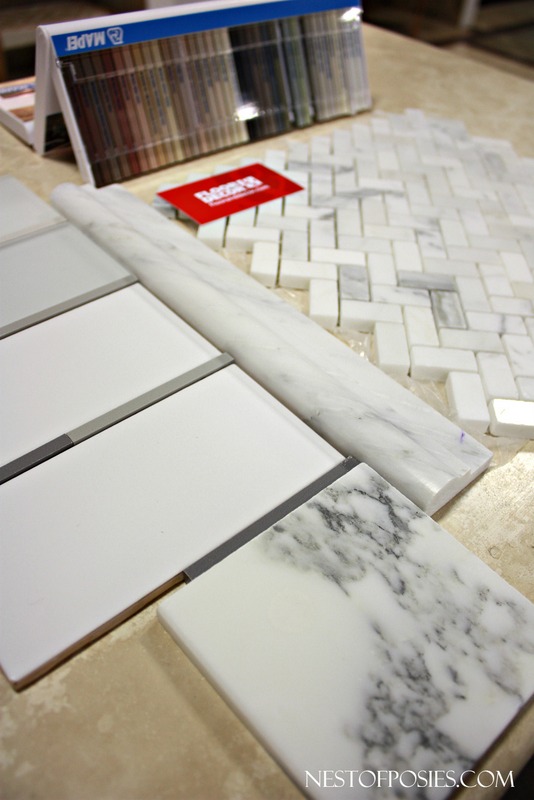
Now don’t get me wrong…I have had my doubts and questions about MANY design elements & choices I have had to make along the way. (Like picking out our gray exterior paint color!)
But this I knew. Without a doubt. It was the easiest thing for me to pick out.
But if you are on the fence about what to get as far as choices of tile, walking into a Floor and Decor store may just overwhelm you.
But in a good way.
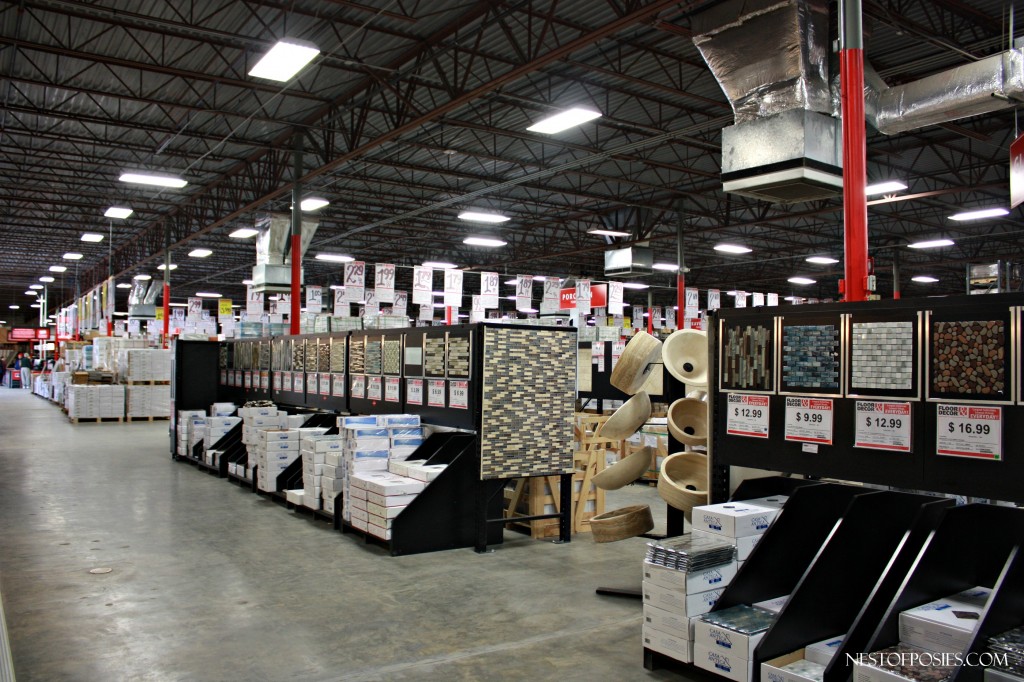
As you can see below, y’all they have some tile in their stores. I mean, if you need tile – this is where you need to go.
Choices after choices, options after options.
I was so thankful, I knew what I wanted. Because I would have had to bring my sleeping bag had I not been for sure about my white subway tile!
They DO however, have a great staff that is always willing to assist you when you need help or have some design questions.
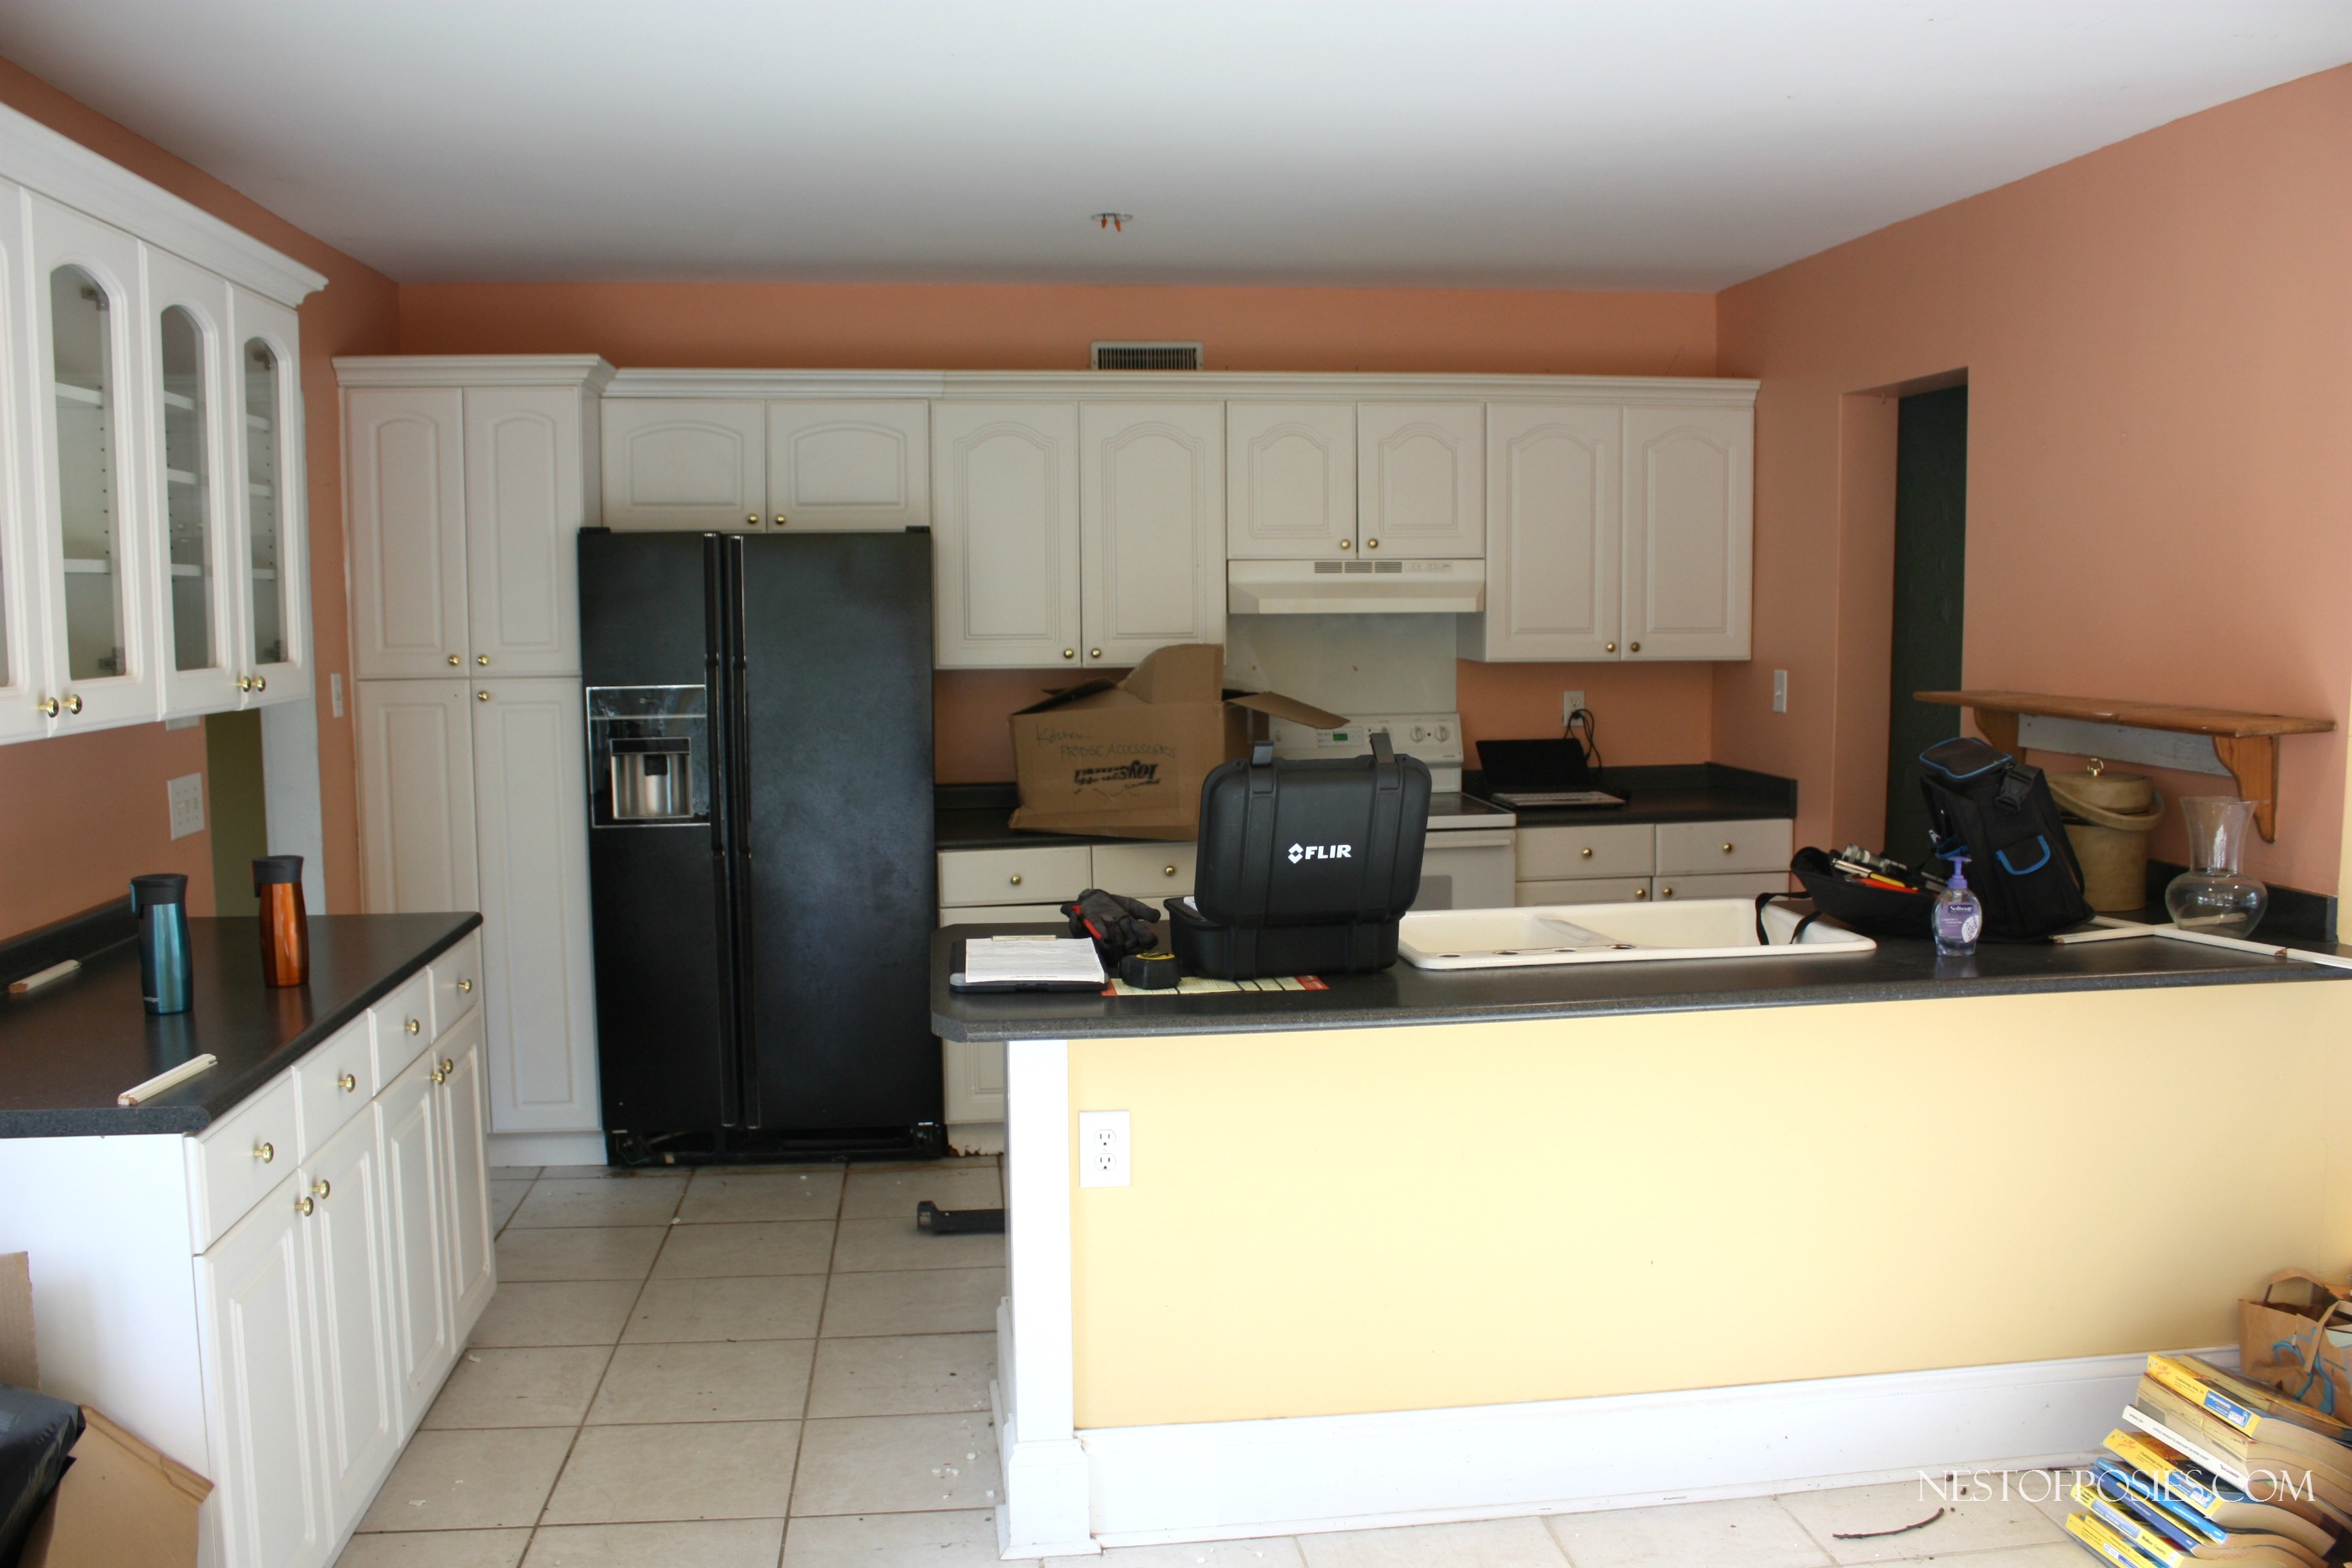
Just to refresh your memories, below is the kitchen we started with when we signed the papers on this foreclosed home. We believe this house had been vacant for almost 4 years. To be honest, the upper cabinets were in okay shape. The base cabinets however had seen better days. The tile floor was cracking, and the peach color walls – well they just didn’t rock my world. And for some strange reason there were about 100 old phone books in this house when we viewed it for the first time.
I kept the layout the same, but that was about it.
Fast forward to the weekend of New Years. The first week of 2015, we started our tiling job in this kitchen. I put a stop to all big DIY projects for the month of December. I needed to catch my breath + the kids would be on Christmas break soon enough, and also we wanted to give our bank account some time to play catch up. (not that it could in a month’s time) but since we are paying as we go – it made perfect sense.
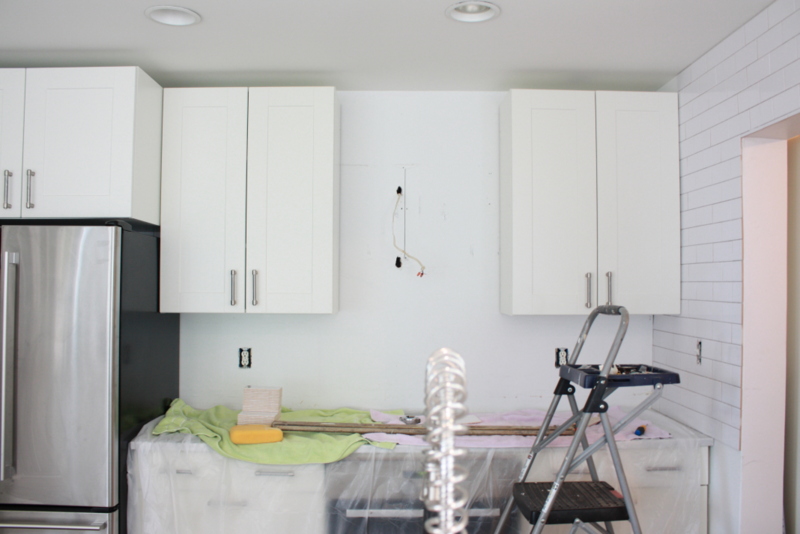
Going through that ripped out door frame (below) leads to our laundry room. The opening was too small for a regular washer & dryer to fit through! We didn’t discover that until after we started moving in here, so we had to also rip out some flooring and obviously now we had to fix the door frame and flooring.
The bad part about the door way is on the other side it’s all BRICK!
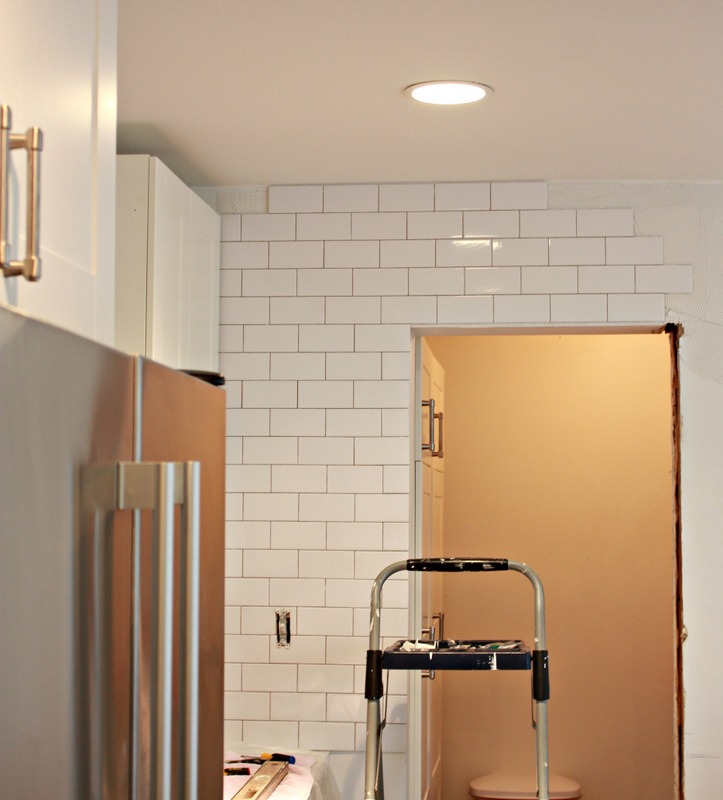
So we began laying our tile. I wanted a wall of tile and of course my back splash to be all subway. I just had a few specifics, I wanted our subway tile to meet our counter tops. I didn’t have any edging of our counter tops installed, and I didn’t want a lot of trim or edging as far as molding goes. Basically, I didn’t want anything else other than subway tile. We ended up having to do a half wall because we did not account for the tile when the base cabinets were installed. Therefore, we didn’t even have a 1/4″ inch of room to work with. Bummer. But we just stopped at the counter top height. Which I think will look just fine once it’s touched up with paint again.
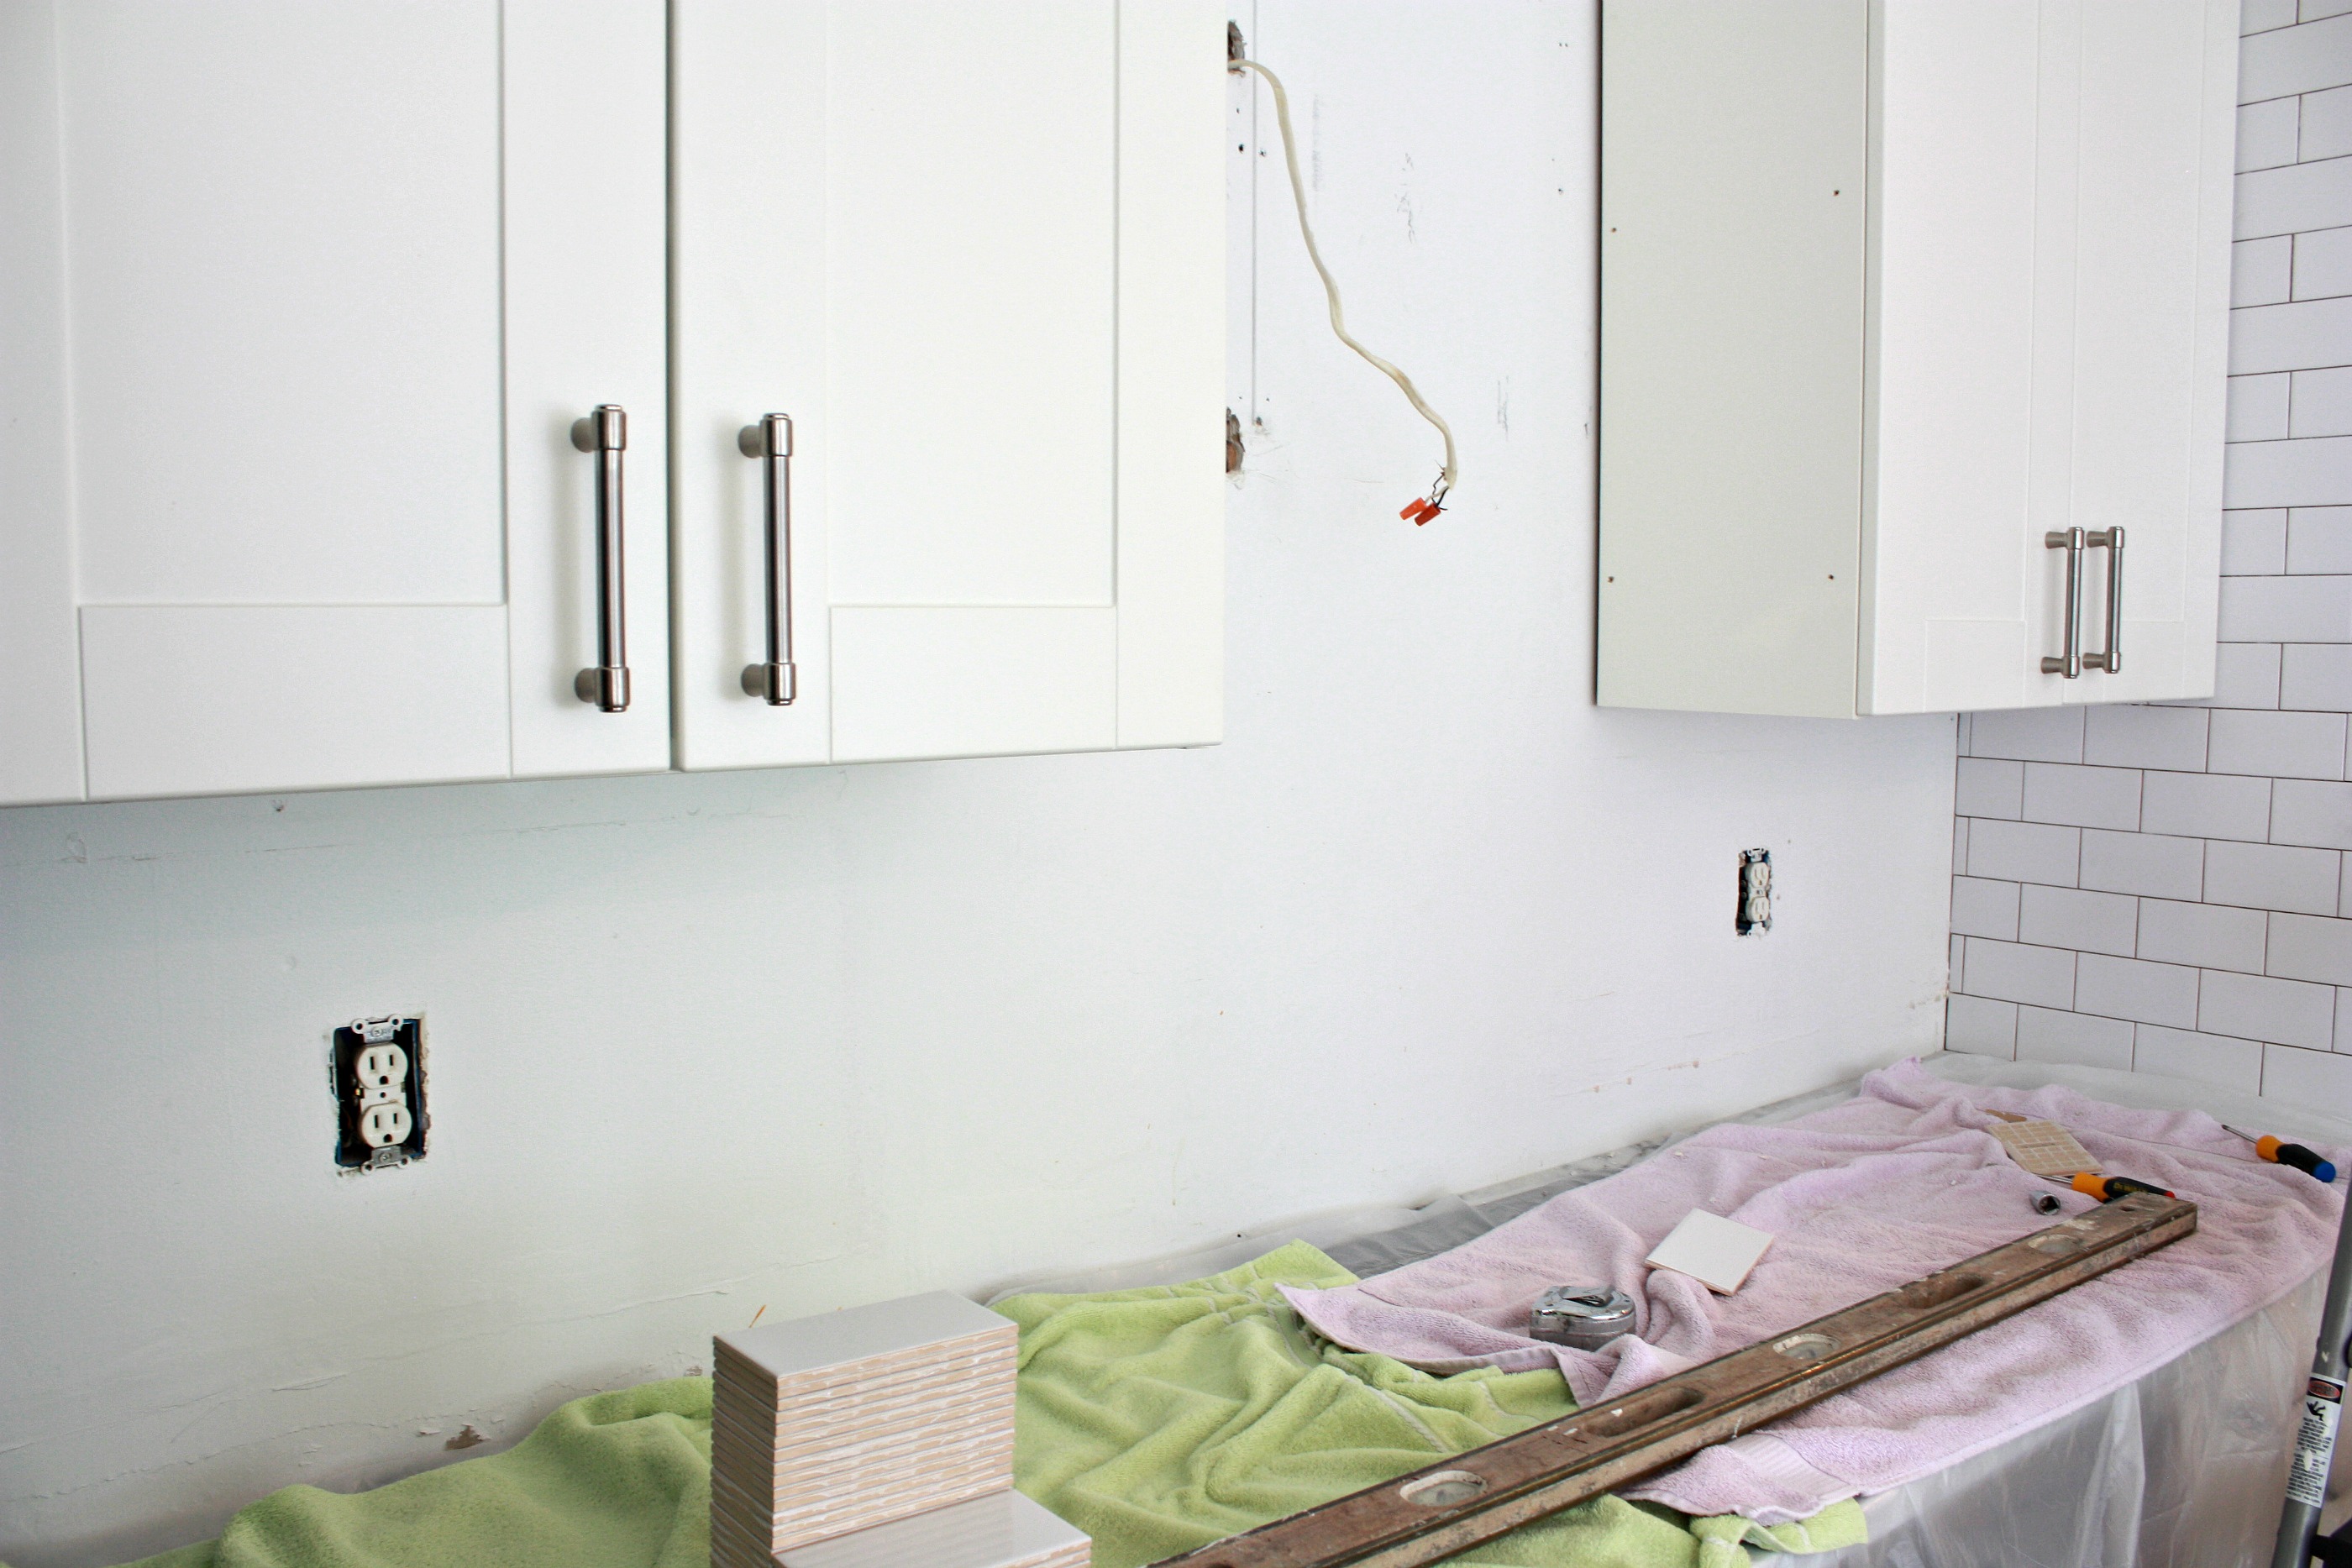
I covered and protected my counter tops and base cabinets as much as I could.
Because let me tell you, that grout cleaning is the worst part of tiling. It gets everywhere.
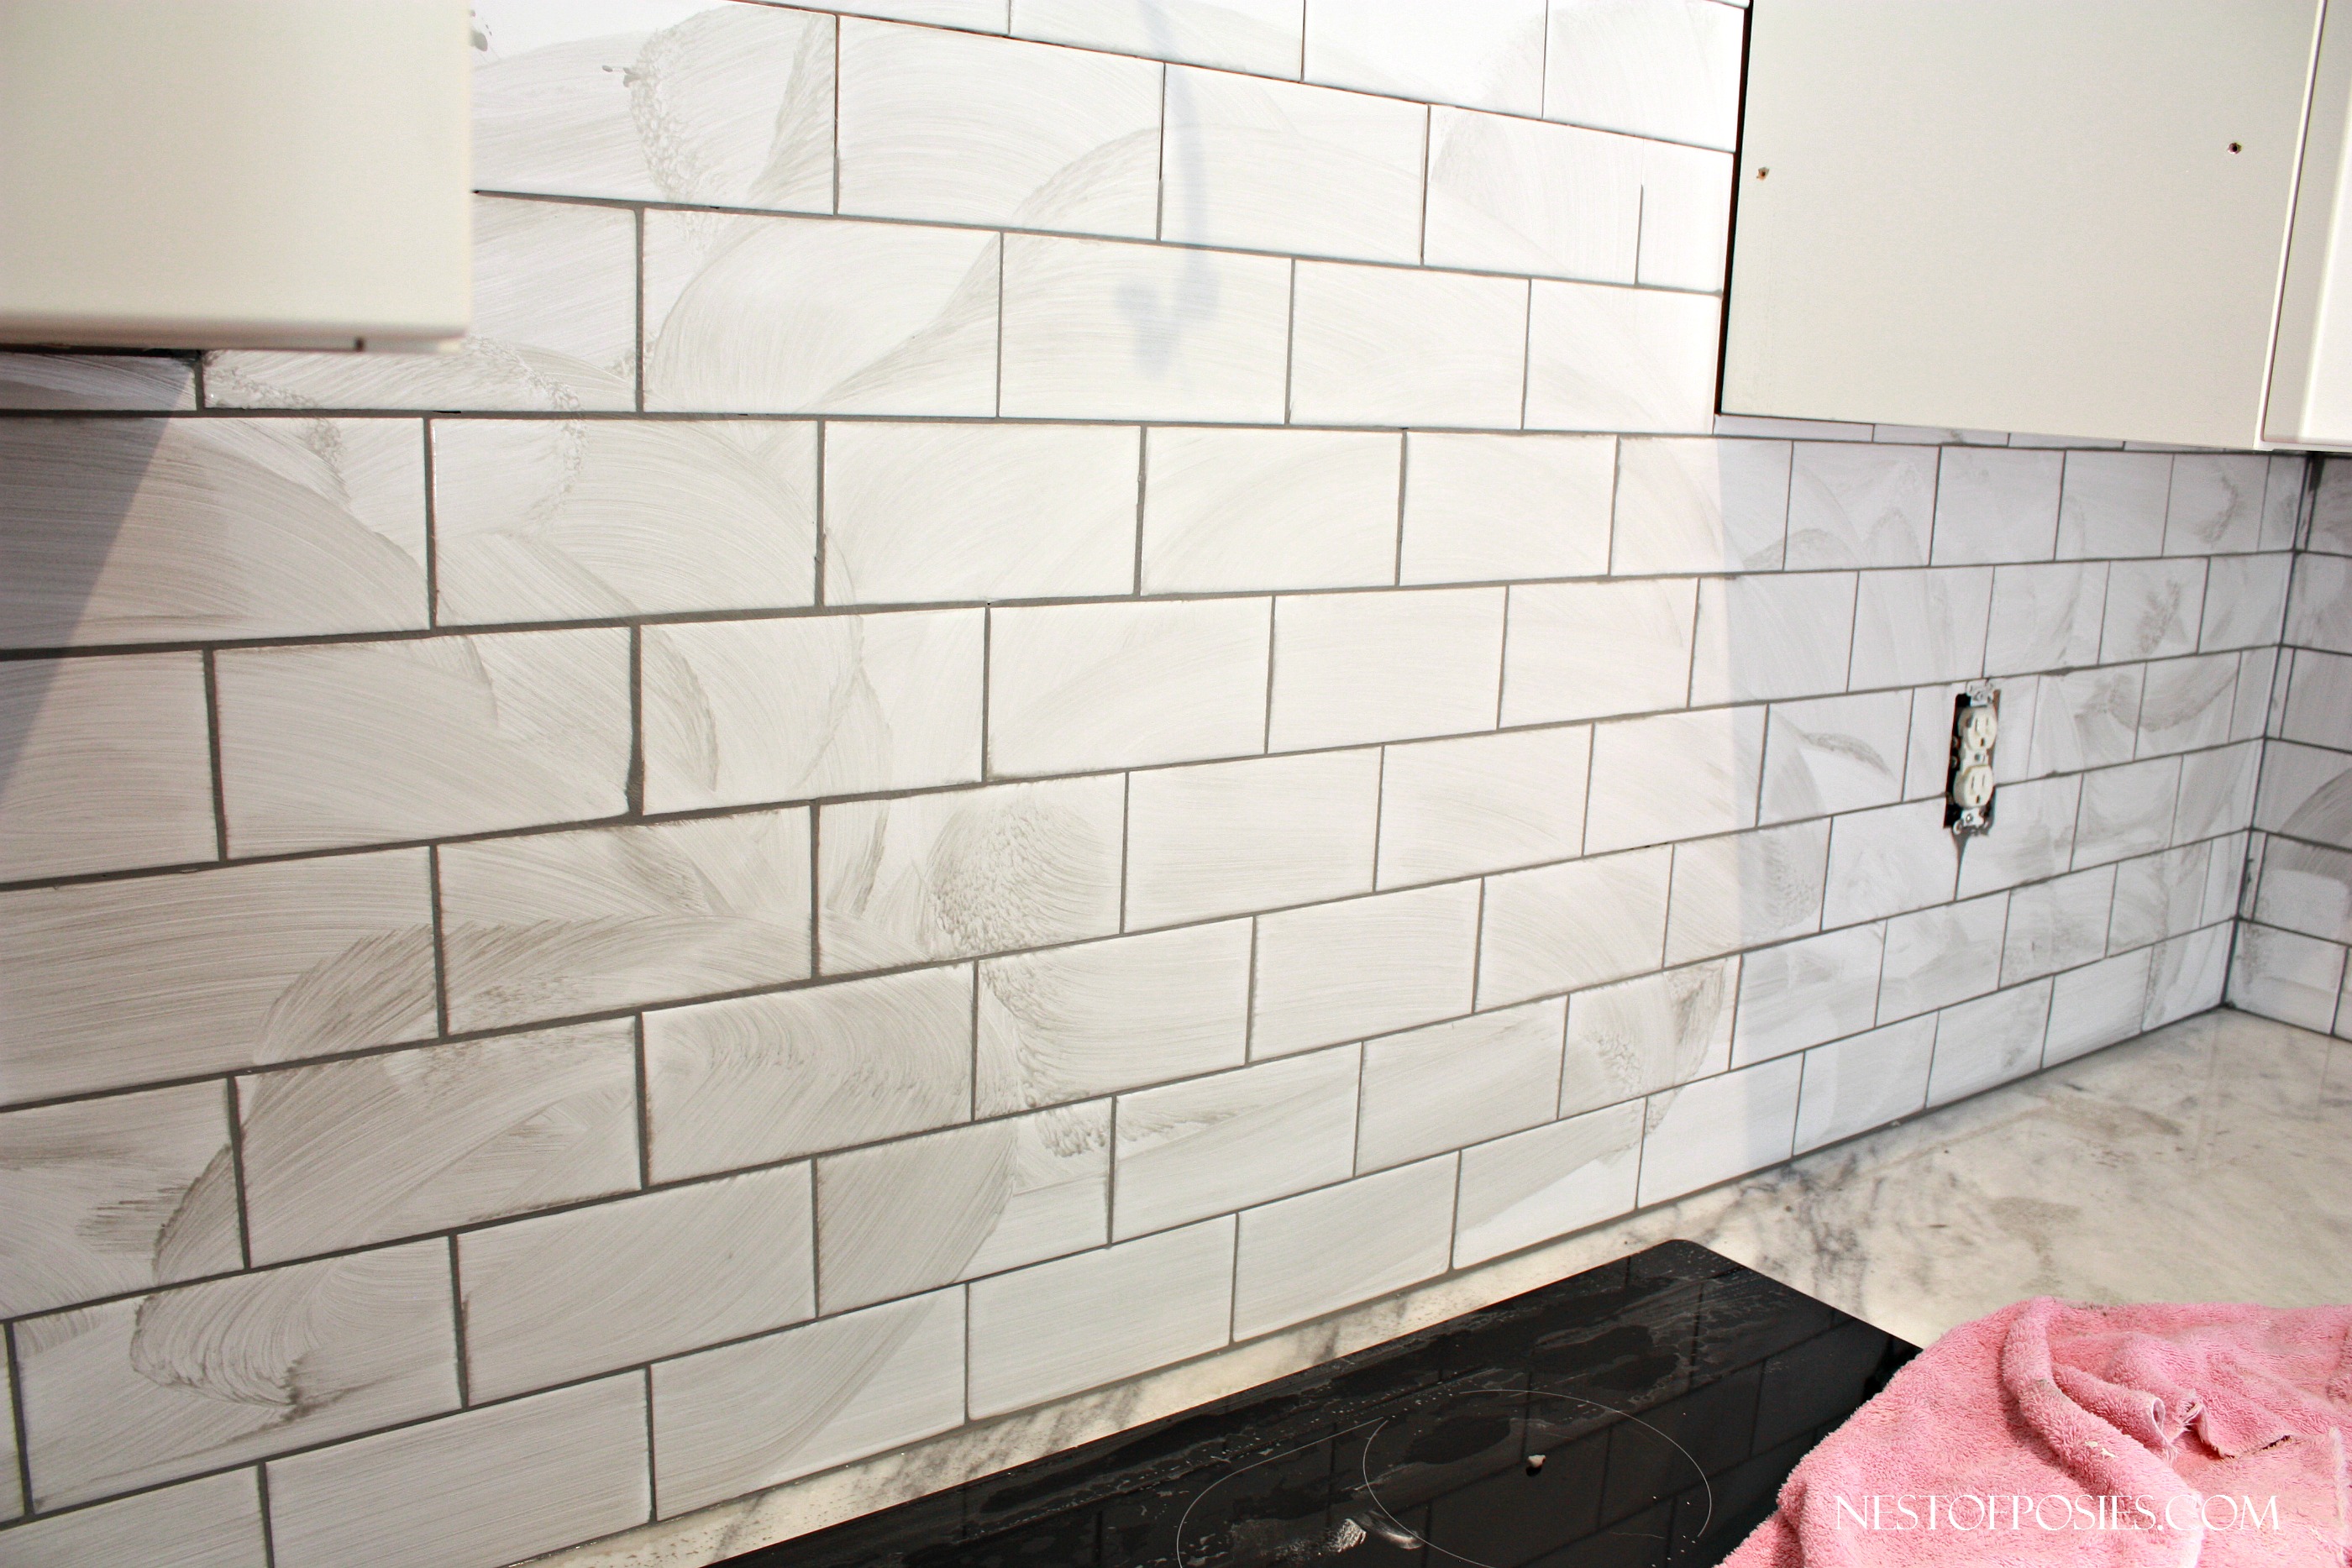
But it’s SO WORTH IT!!!
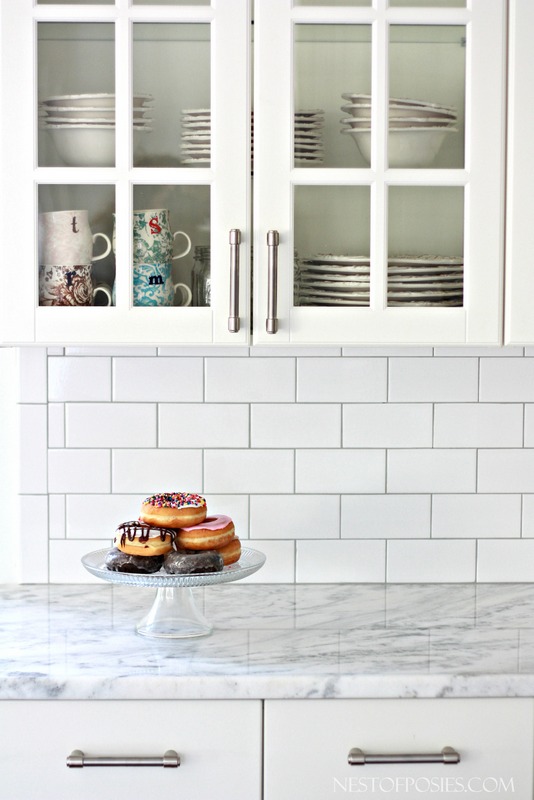
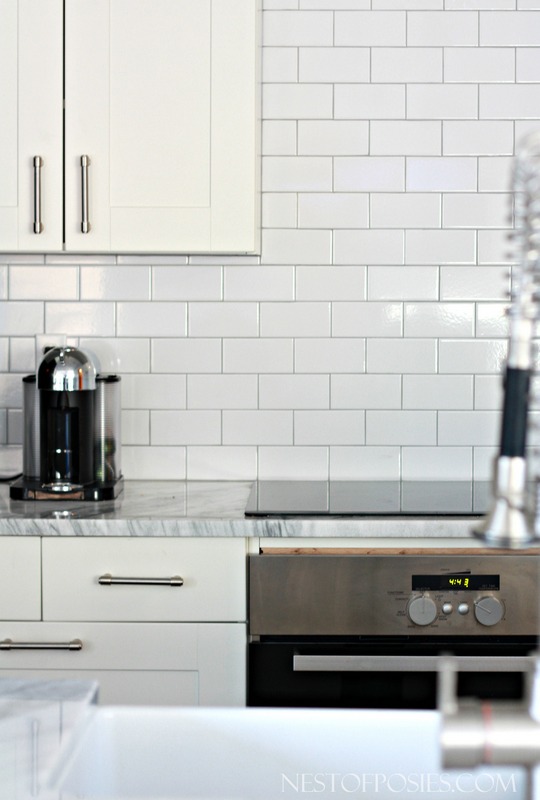
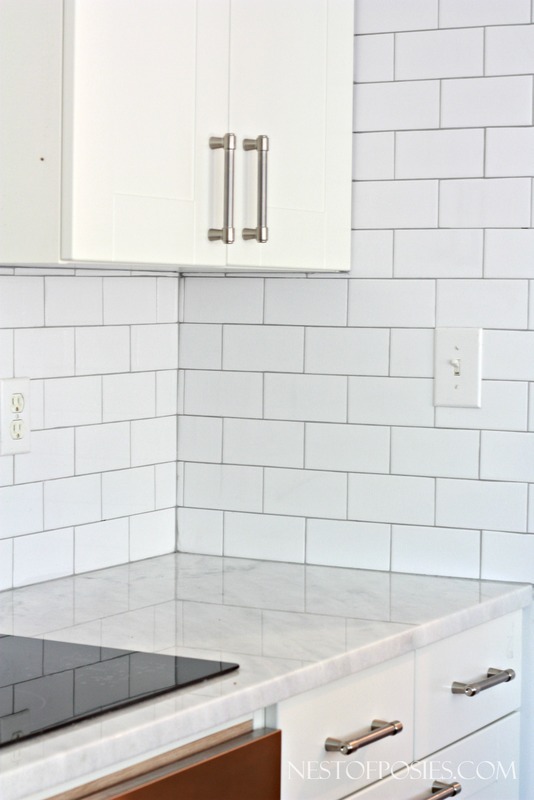
Just in case you’re wondering I picked out the Bright White Subway Tile from Floor and Decor. It’s .21 cents a piece!
And the grout in Silver.
In the picture below we still have to hook up our hood, and do some detail trim work around the oven, but for now…I’m basking in the land of 3×6 subway tile pieces.
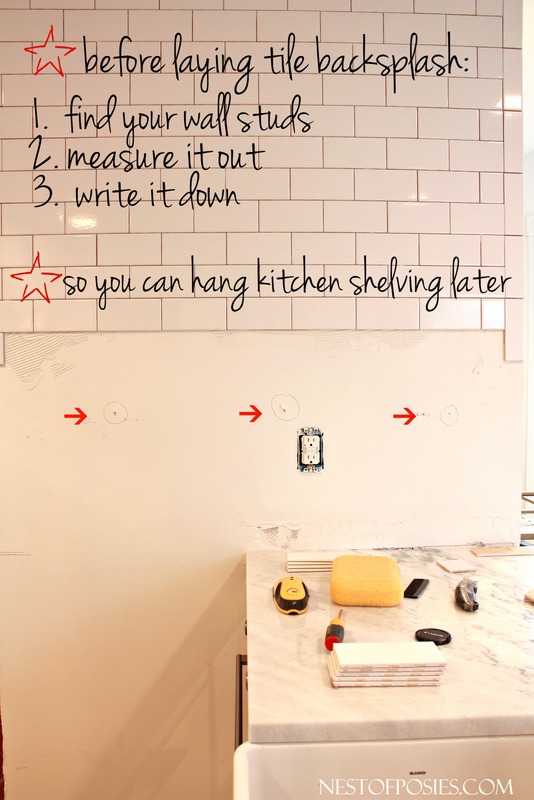
I also thought it was worth mentioning that if you plan to add open shelving later down the road, like I am. Make sure to find your wall studs before you place the tile on your walls. Measure it out, and write it down. We actually wrote out the measurements (in pencil) on our cabinet door so we wouldn’t misplace the measurements.
Obligatory selfie in front of my tile wall. 😉
It was a big hair, don’t care kinda day.

Here’s the wall as it is now. We trimmed out the door frame with really thin wood. We aren’t going to add any molding, because our washer & dryer are so old that I’m sure one day we will have to replace them and I don’t want to have to remove anything next time! We will be painting the wood trim white, however.
See those tall cabinets inside my laundry room? That was all my husband’s idea for more storage. He’s a keeper!
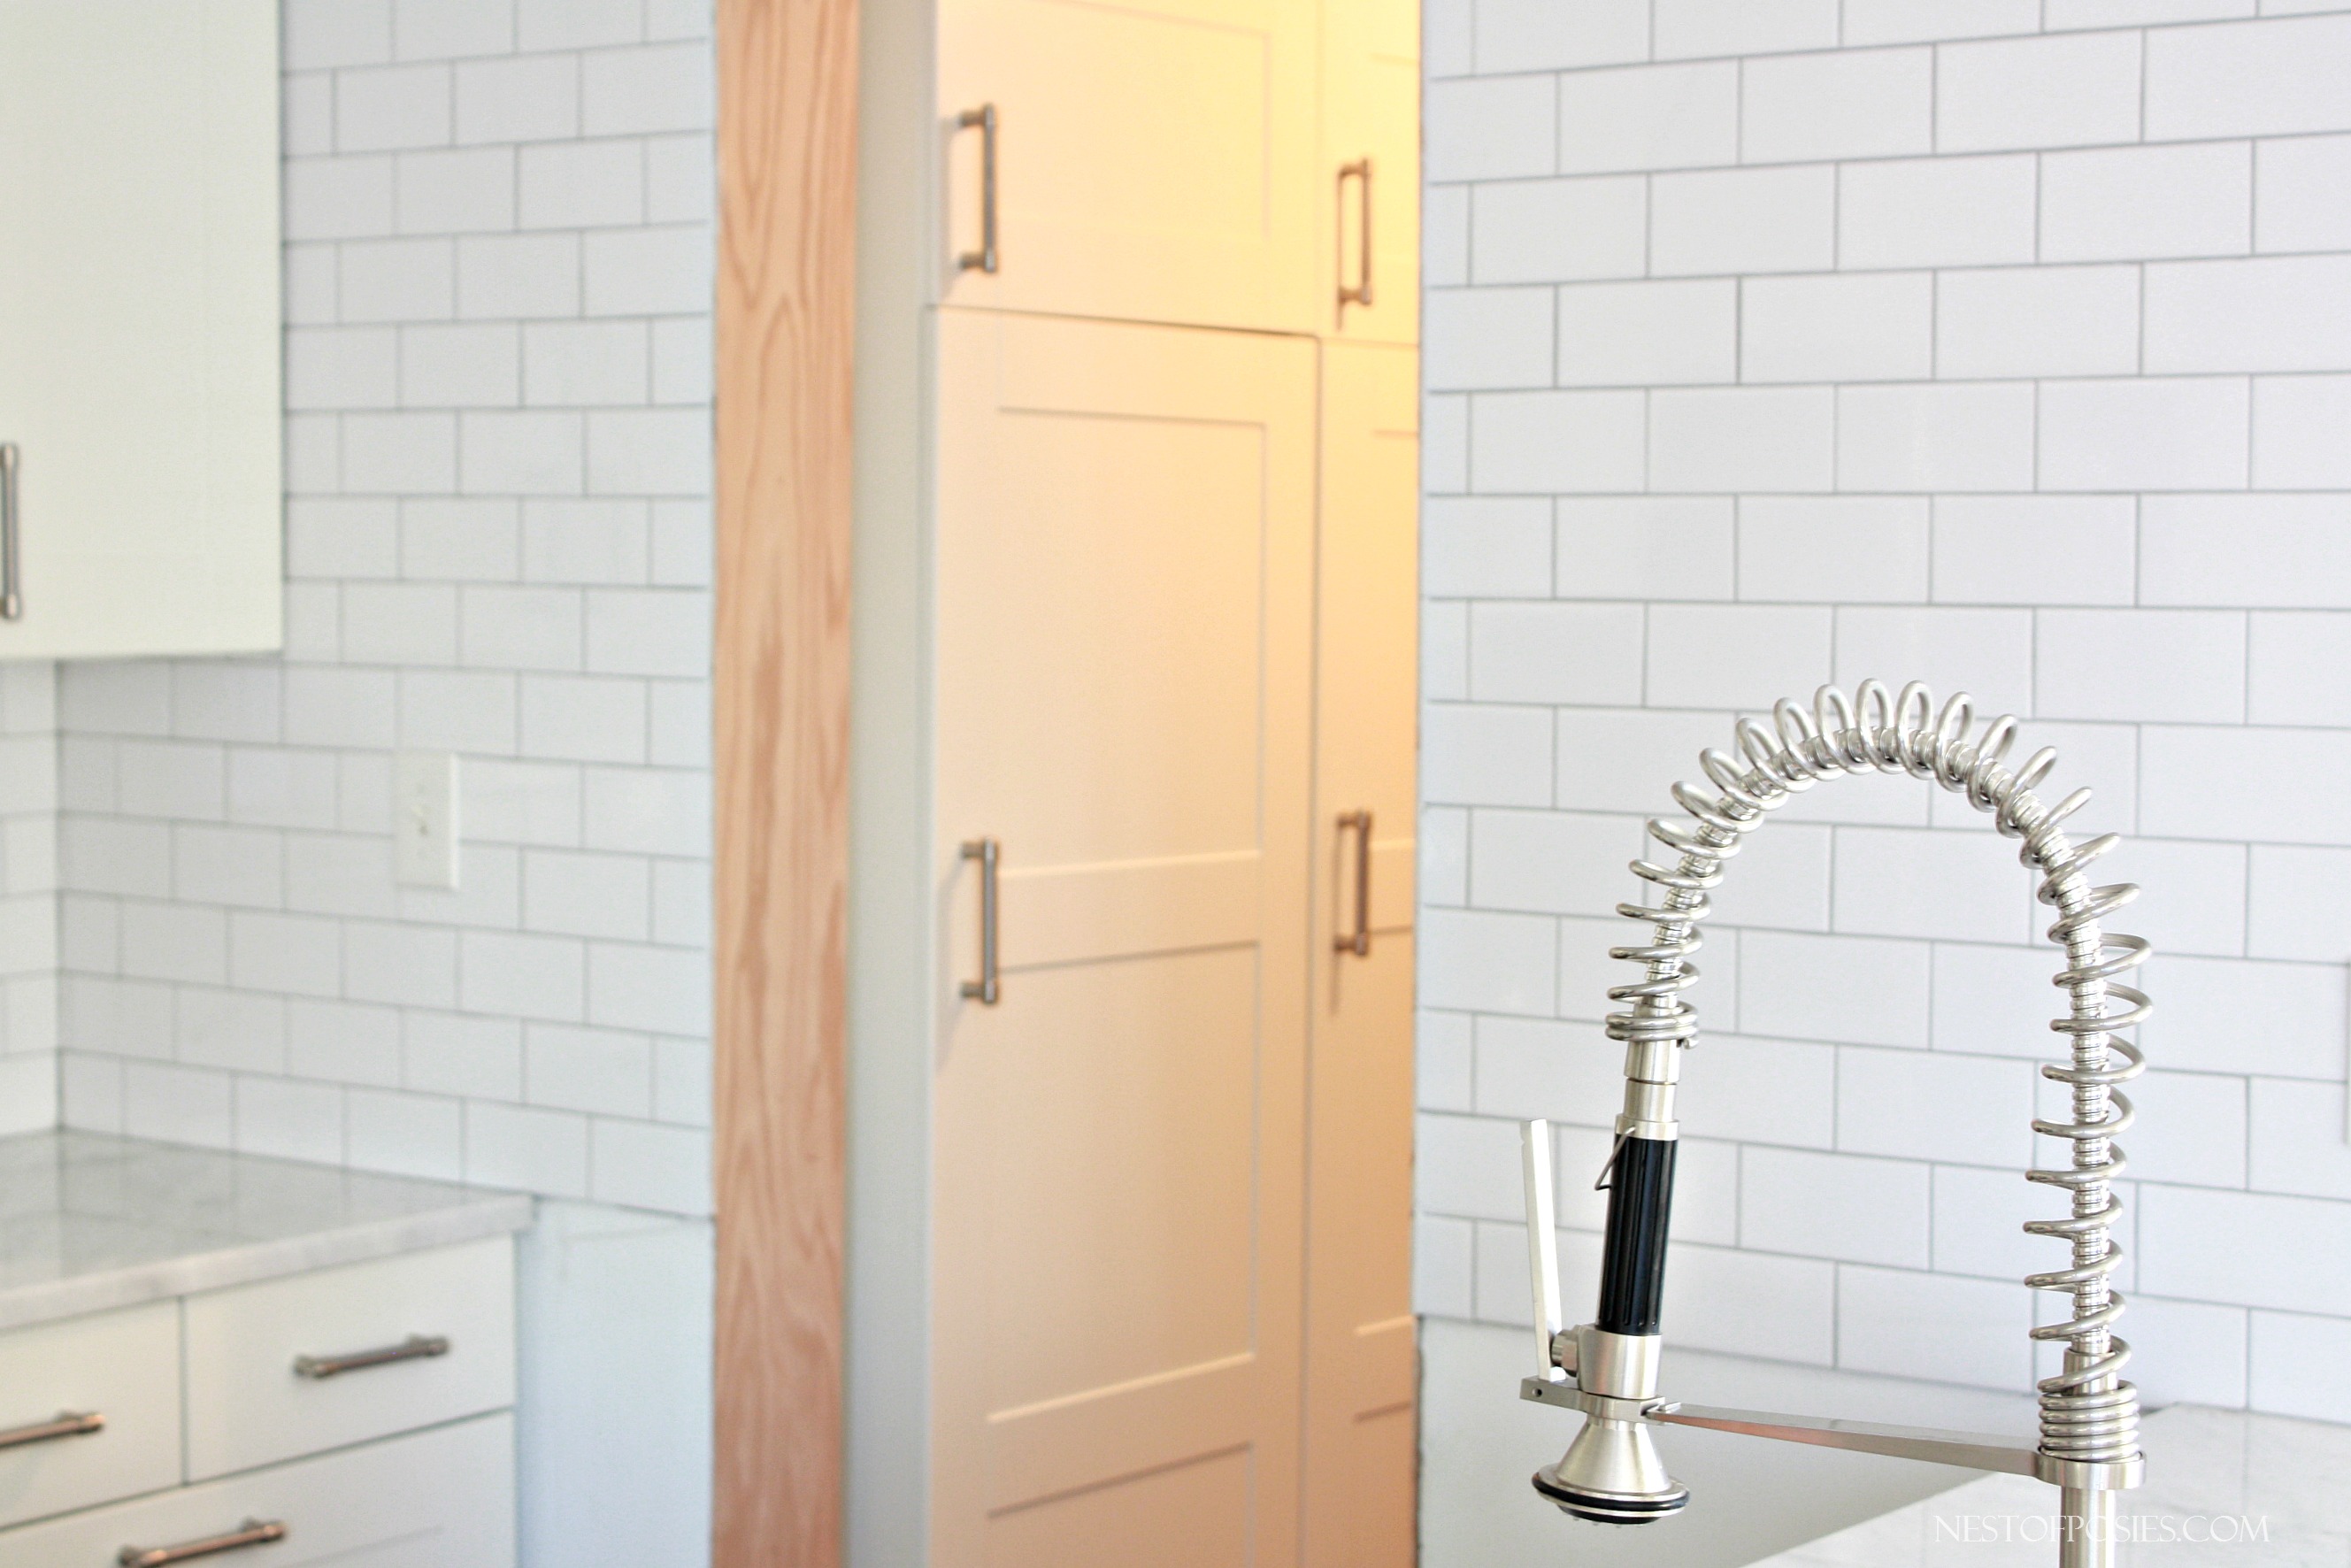
The subway tile makes such a difference. And I believe it truly dresses up the kitchen.
I positively love it!
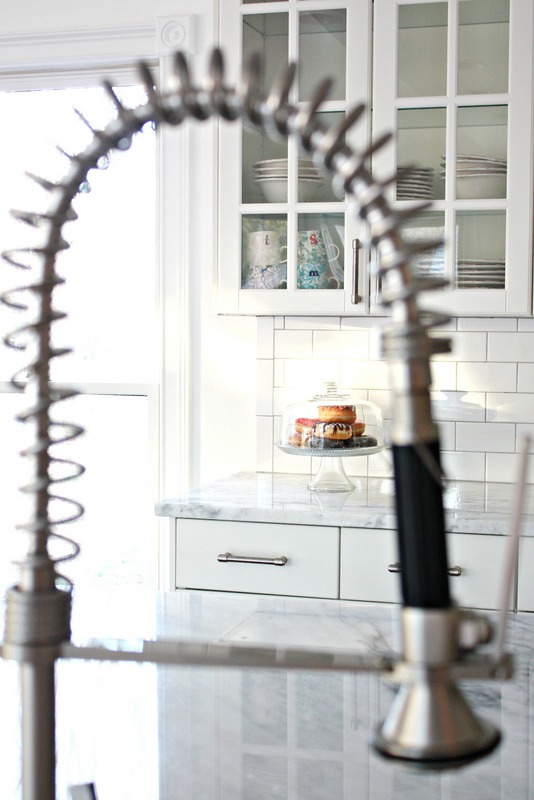
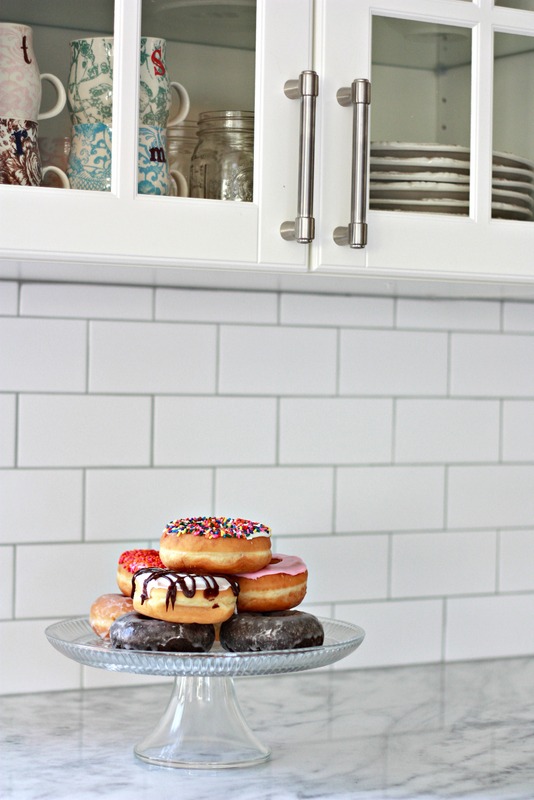
If you are thinking about adding tile to your kitchen or bathrooms, Floor and Decor truly offers great prices and selections. I loved how they had their tile set up, so you could see what all coordinates with each style, but you can also play and build your own design just to make sure. Whether you’re going with a basic and simple design like me, or want decorative tile they have every option to offer you!
This post is sponsored by Floor and Decor. I am positively thrilled with their products and how it worked so well and gave us exactly what we needed to bring our kitchen up a notch! I highly recommend their customer service and products.