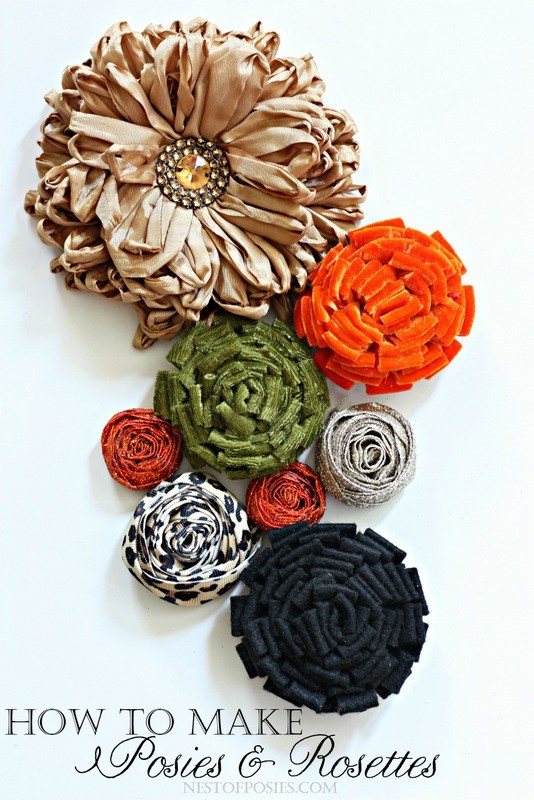
A long time ago, when I didn’t have any sleep, and I had messy hair, don’t care kinda days (I still have those days, btw) I used to have a shop. Where I sold customized jute bags & posie clusters. I truly loved it. I honestly rather create or craft than do anything technical. I’m more of a behind the scenes kinda gal.
But the thing is…it was creating chaos for our family. At times I had more orders than I knew what to do with. The house was a disaster, and “my craft or trade” took a while to do. I was pretty much a perfectionist or at least tried as much as possible to be with items I sold.
But all of that took time.
Lots of time.
It came down to deciding which to invest my time in most. The blog or my shop. The blog was not nearly as messy, plus I had more control over my time. Of course along with being a mom of 3 young kids whose husband travels for a living, it made more sense to only do one. So I decided on the blog.
Not that you all needed or wanted that explanation, LOL – but it’s a good introduction for this post.
Because really I used to be able to make these blind folded or in my sleep. So I thought I would share with you all How to make a Posie Cluster.
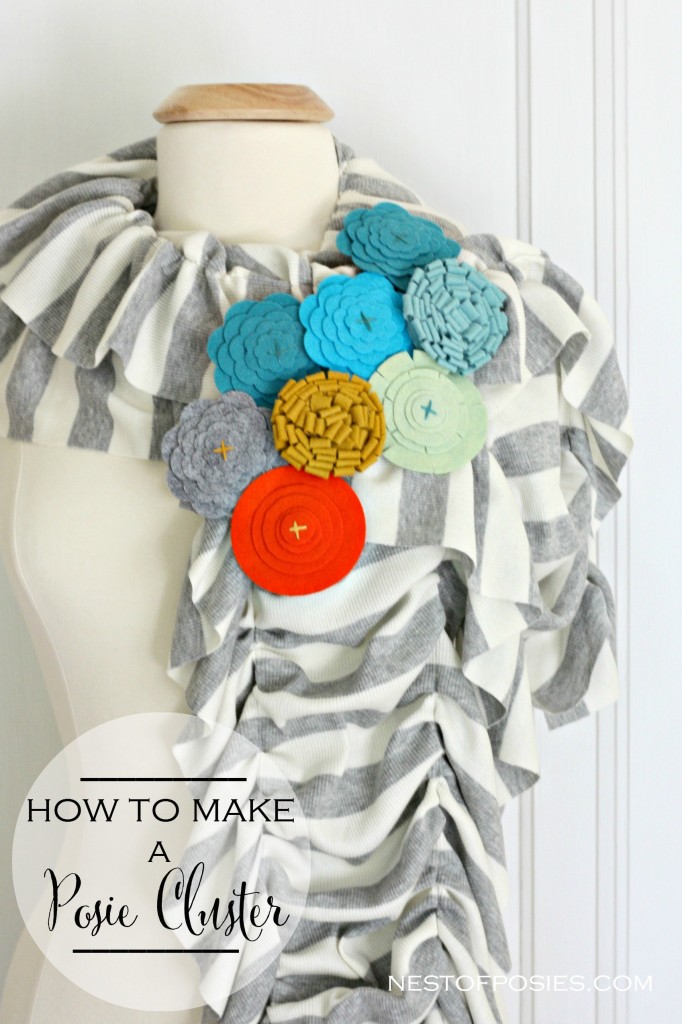
Y’all. They look good on anything!
Scarves
Sweaters
Jackets
Coats
Purses
Travel Bags
You name it – they will look good!
But my secret to making some of these posies was this little machine below.
Say hello to my little friend. 😉
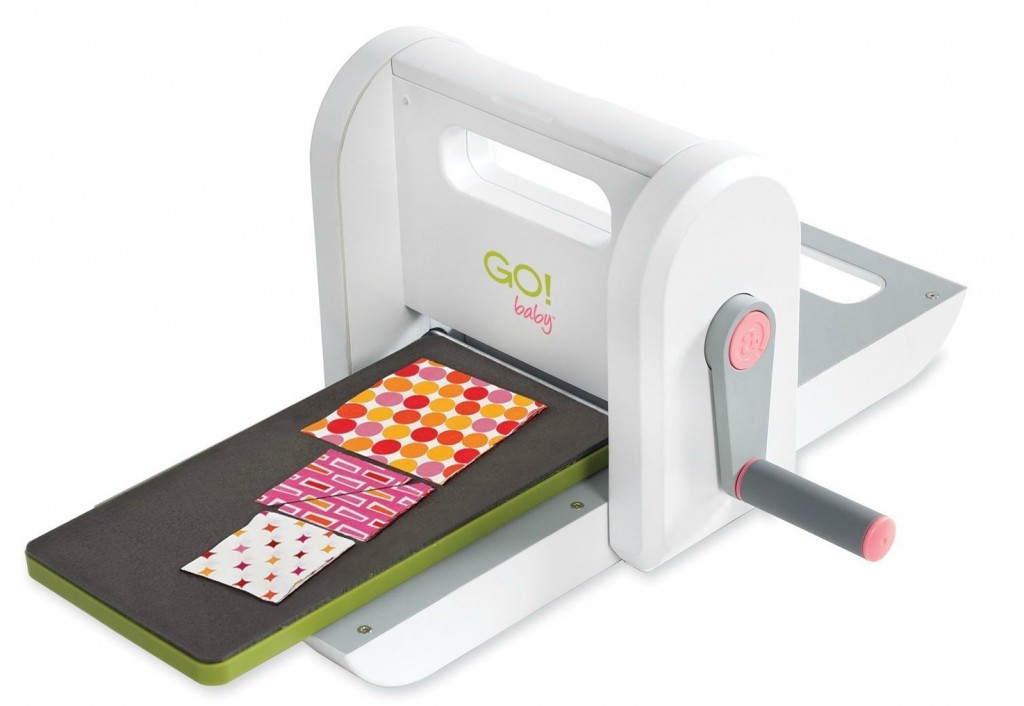
First & foremost you need to get one of these little handy dandy machines! It’s called a Accuquilt GO! Baby. It’s a cutting machine and you purchase separate cutting dies for various styles. It will give you precise cuts that you will not believe – every.single.time!
I typically used just 2 cutting dies to create 2 of the 3 posies that I would include in my clusters.
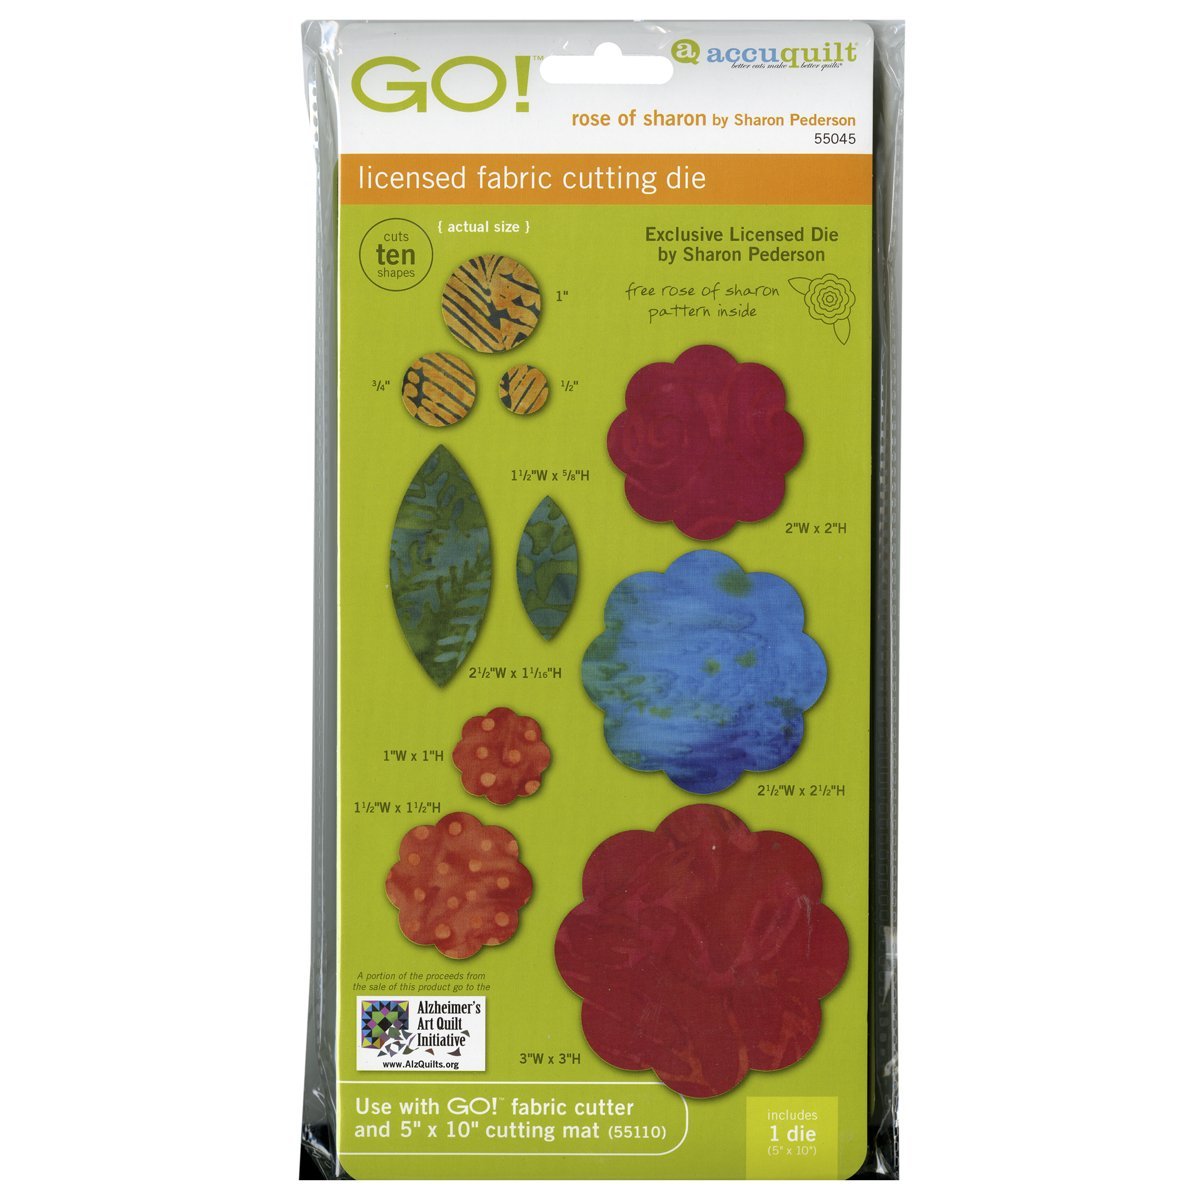
This one above is called The Rose of Sharon cutting die. Once you have cut your fabric or felt, just alter the layering process and add a drop of hot glue in between each layer. I promise it’s the simplest process!
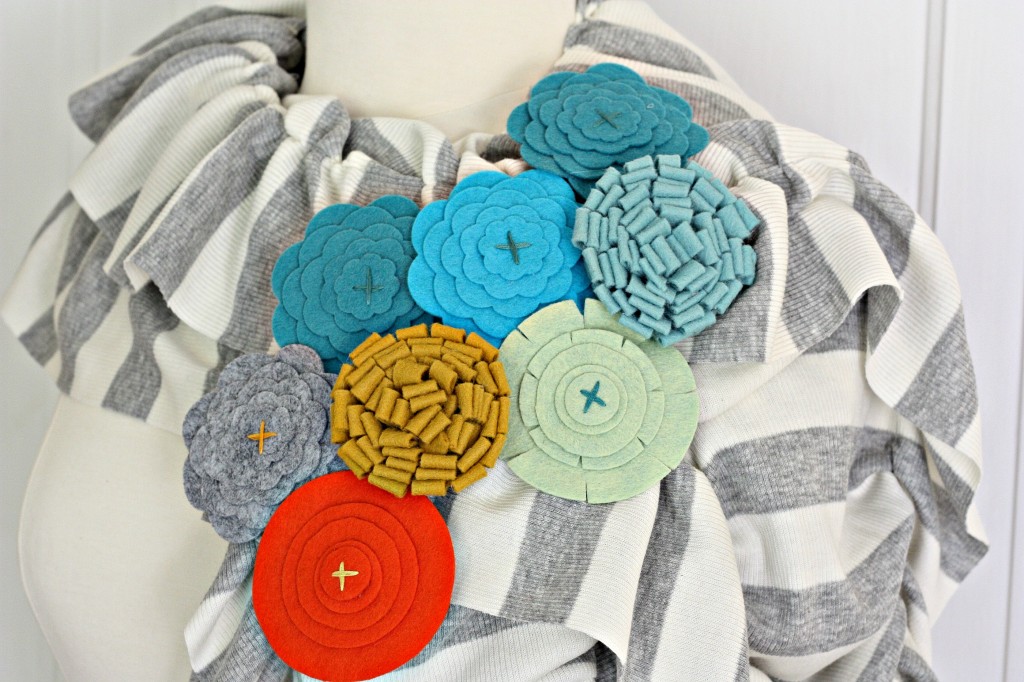
Here’s a close up of all the posies. You can see how I altered the Rose of Sharon so that the scallop edges were in between the bottom layer. Once I hot glued the layers together. I would use embroidery thread & stitch an “X” on the top layer, and then glue that to the others.
I shared how I made the “fluffier posies” in this post below.
In this post I shared how to make them using either felt or velvet. It’s all the same. Practice makes perfect on these, so I recommend practicing on scrap fabric. The thing is, it’s really easy to pick up, but you just got to do it a few times before you get the hang of it.
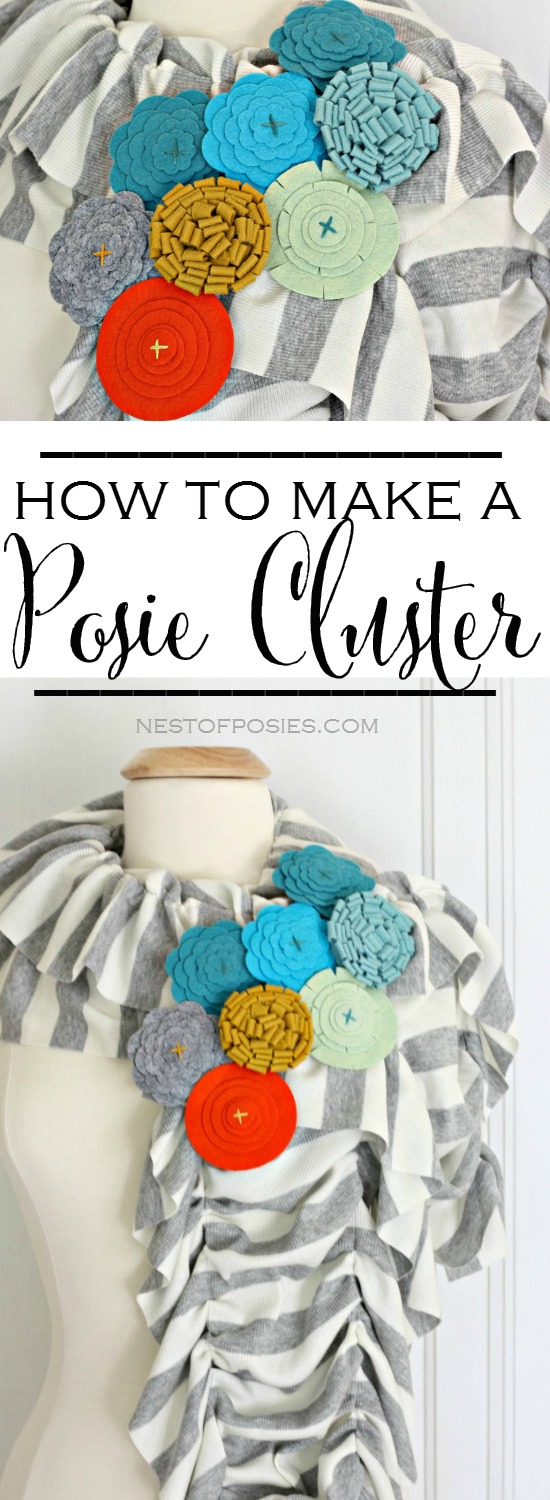
Typically when I sold a posie cluster they were in groups of 3 or 4. I would place the posies on a felt square and place them close together. Then hot glue the posies on the felt for a backing. Then attach a broach pin or two & you were done. In this photo above, they’re 2 clusters. Each cluster has 4 posies. Many times I would wear 2 clusters at the same time.
Yes, I am a walking flower garden some days. 😉
They are the perfect thing to create & give as gifts. The colors & possibilities are endless.
*This post contains affiliate links*
