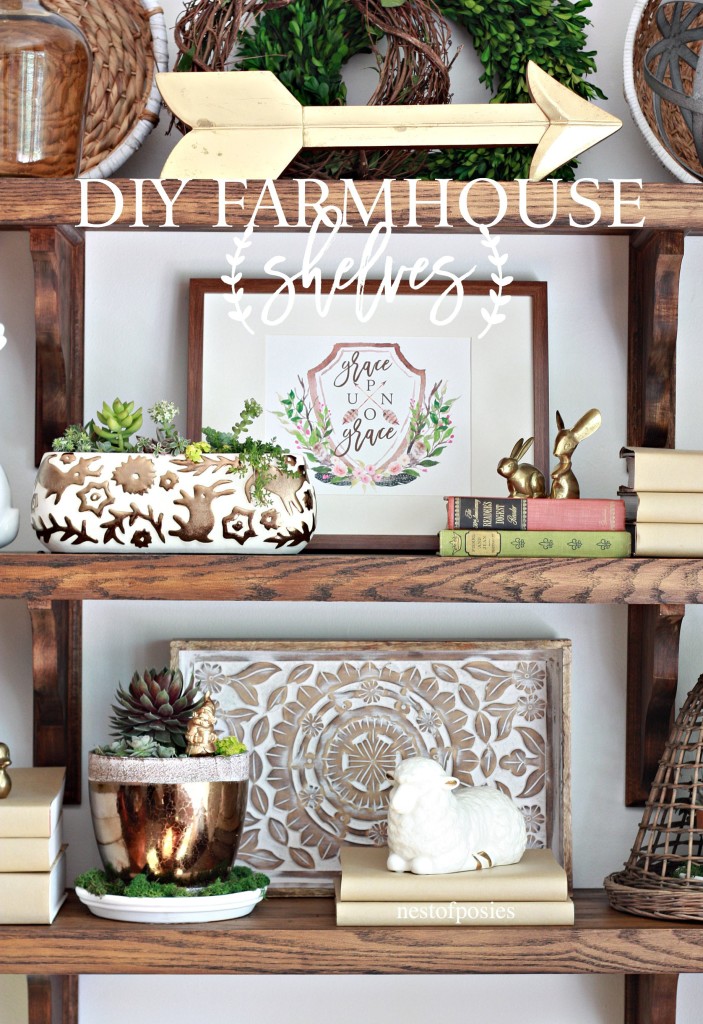
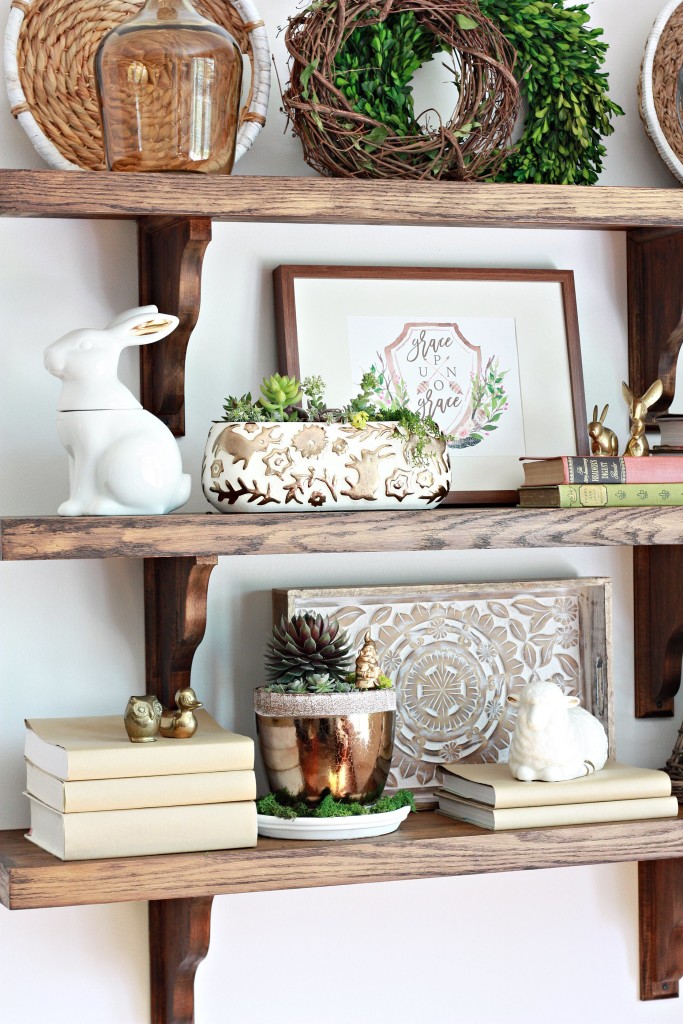
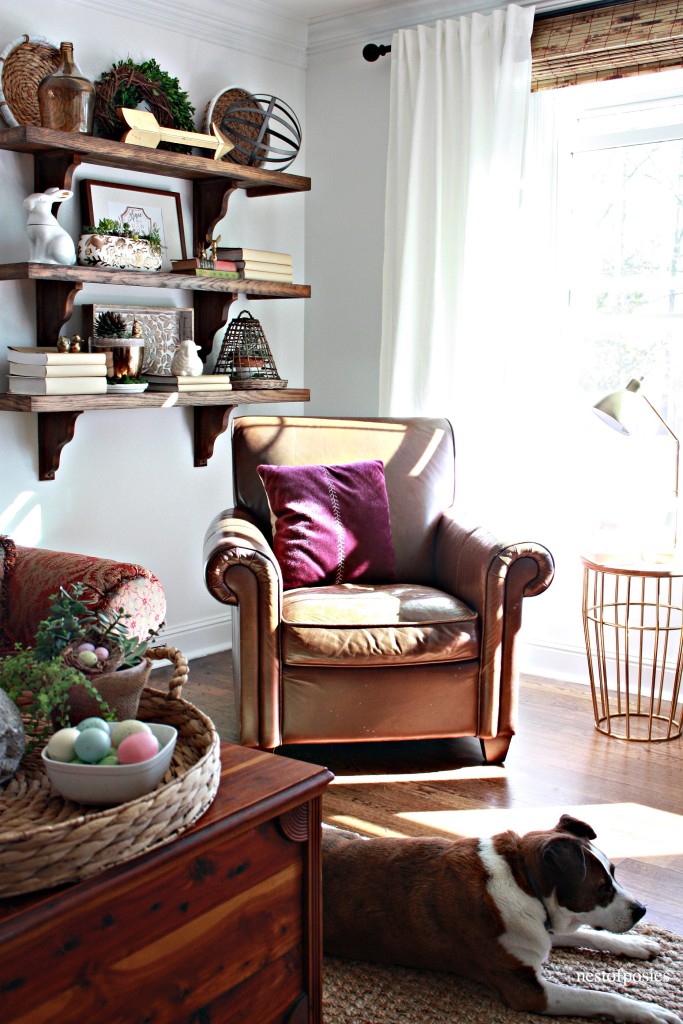
This is a story of true procrastination and hoarding that ends with a fairy tale ending. To say I’m a bit proud of how these DIY Farmhouse Shelves turned out would be a slight understatement. I’ve been working on these shelves on & off for the past 6 weeks ~ weather permitting. So not only did a learn a few things about sanding & staining wood, but waiting on the weather taught me a whole lotta patience.
You see, I’ve had these shelves for years…
They’ve been through 3 moves & a long storage hiatus at my parents.
Thank goodness for free storage at the good ‘ol parent’s house.
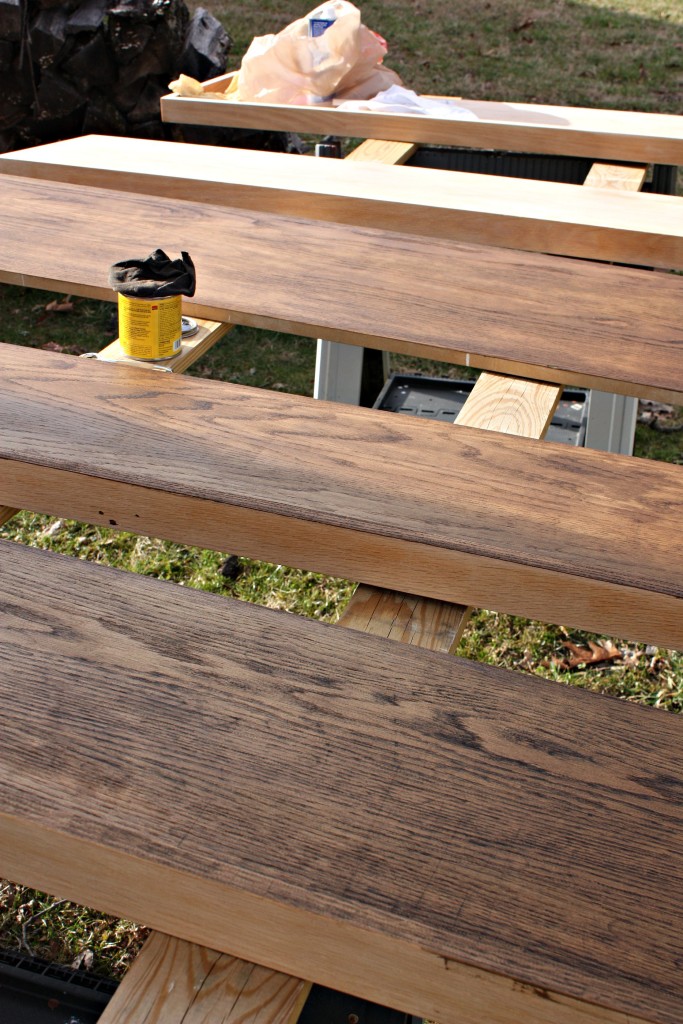
Once I finally got a vision (after having them for 10+ years!!!) of what I wanted to do with them, I started sanding them down from the ugly pee yellow stain that they once were.
I got 5 shelves from the retail store where I used to work before having kids. We were remodeling, and they were giving or throwing the old fixtures away. Full circle 10 years later, I wish I would had got a whole lot more of them!
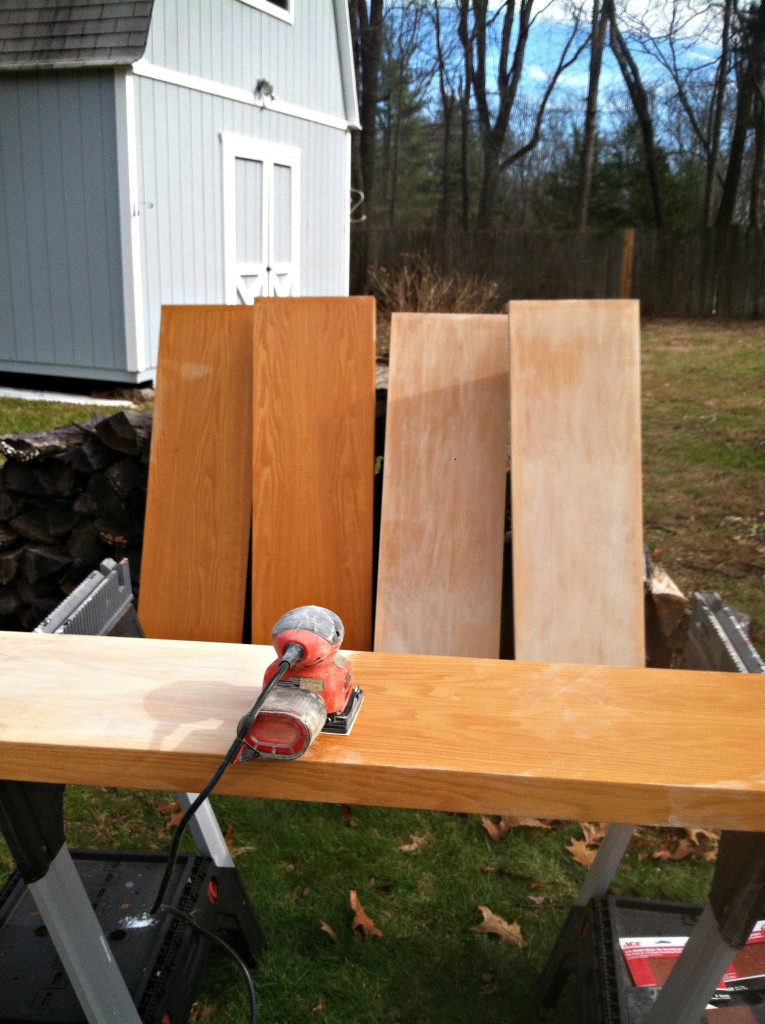
Once I got the old stain sanded off, it was time for the fun part = staining! I used Jacobean stain from Minimax, which is the same stain as our floors.
I bought the corbels from Home Depot, and since the corbels were new wood mixed with some MDF, I mixed a lighter shade stain (Early American) with Jacobean. Learning the process of staining and what happens to new wood vs. old wood is a huge learning curve. Or at least for me it is!
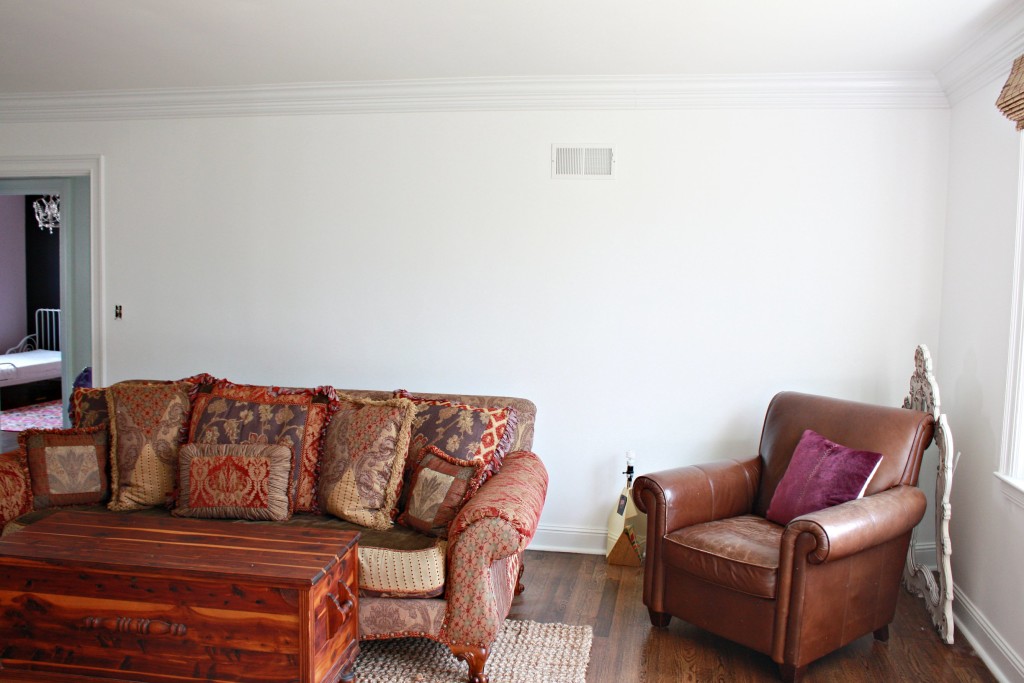
We’ve owned our foreclosed rancher for over a year now. Some rooms we have really fixed up and others we have just left as is until we could catch our breath. This is our living room before. It’s a great “cozy” room that had blank walls and bamboo shades for window dressings, and that’s about it for over a year. I took this photo right before we placed that mirror above the sofa.
I have a few more plans for this room, but adding these DIY Farmhouse Shelves has really brought life to the room!
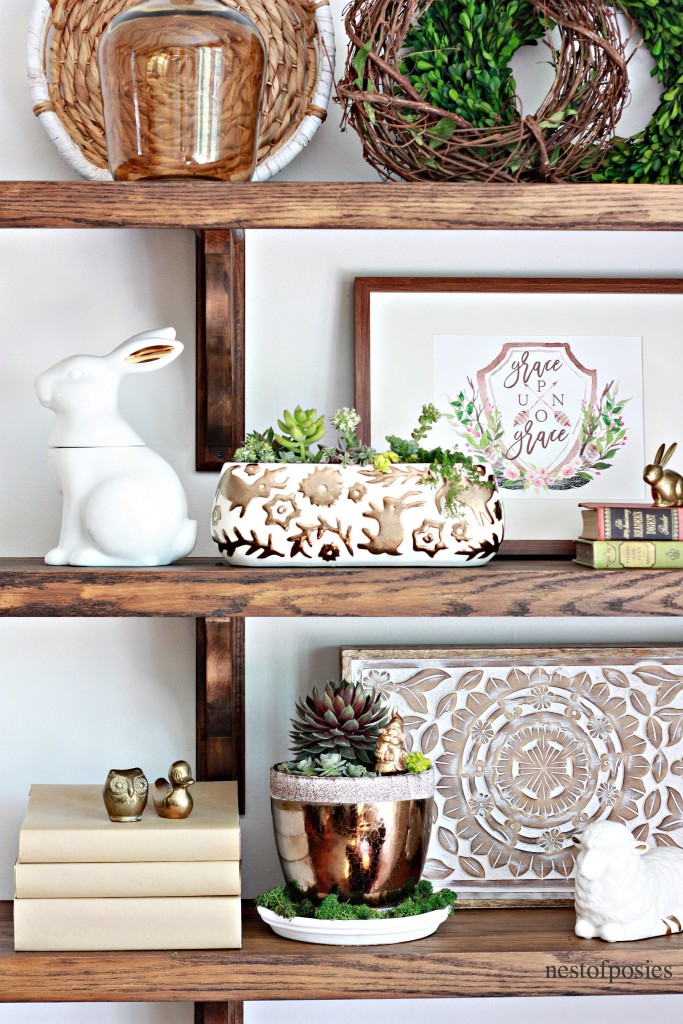
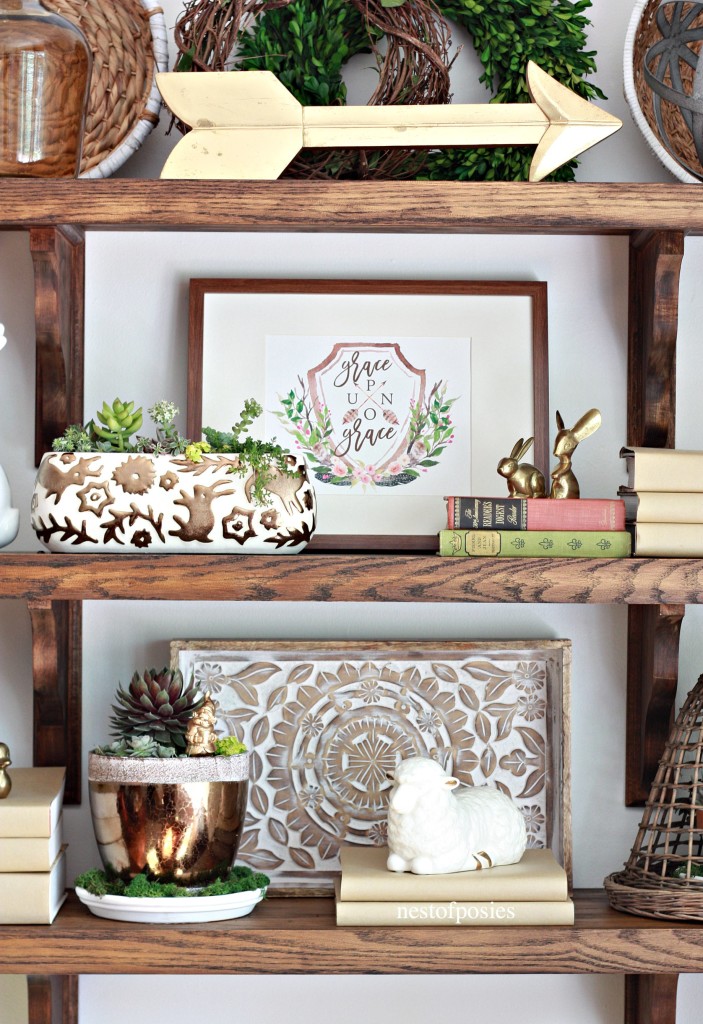
I’ve been adding & playing around with styling these DIY Farmhouse Shelves, and for now I think I’m pretty happy with the mix of gold, brass, green and white for Spring.
Our living room is pretty “heavy” with wood elements and textures. So I wanted to lighten up the feel of the room with greenery from plants + white on the shelves.
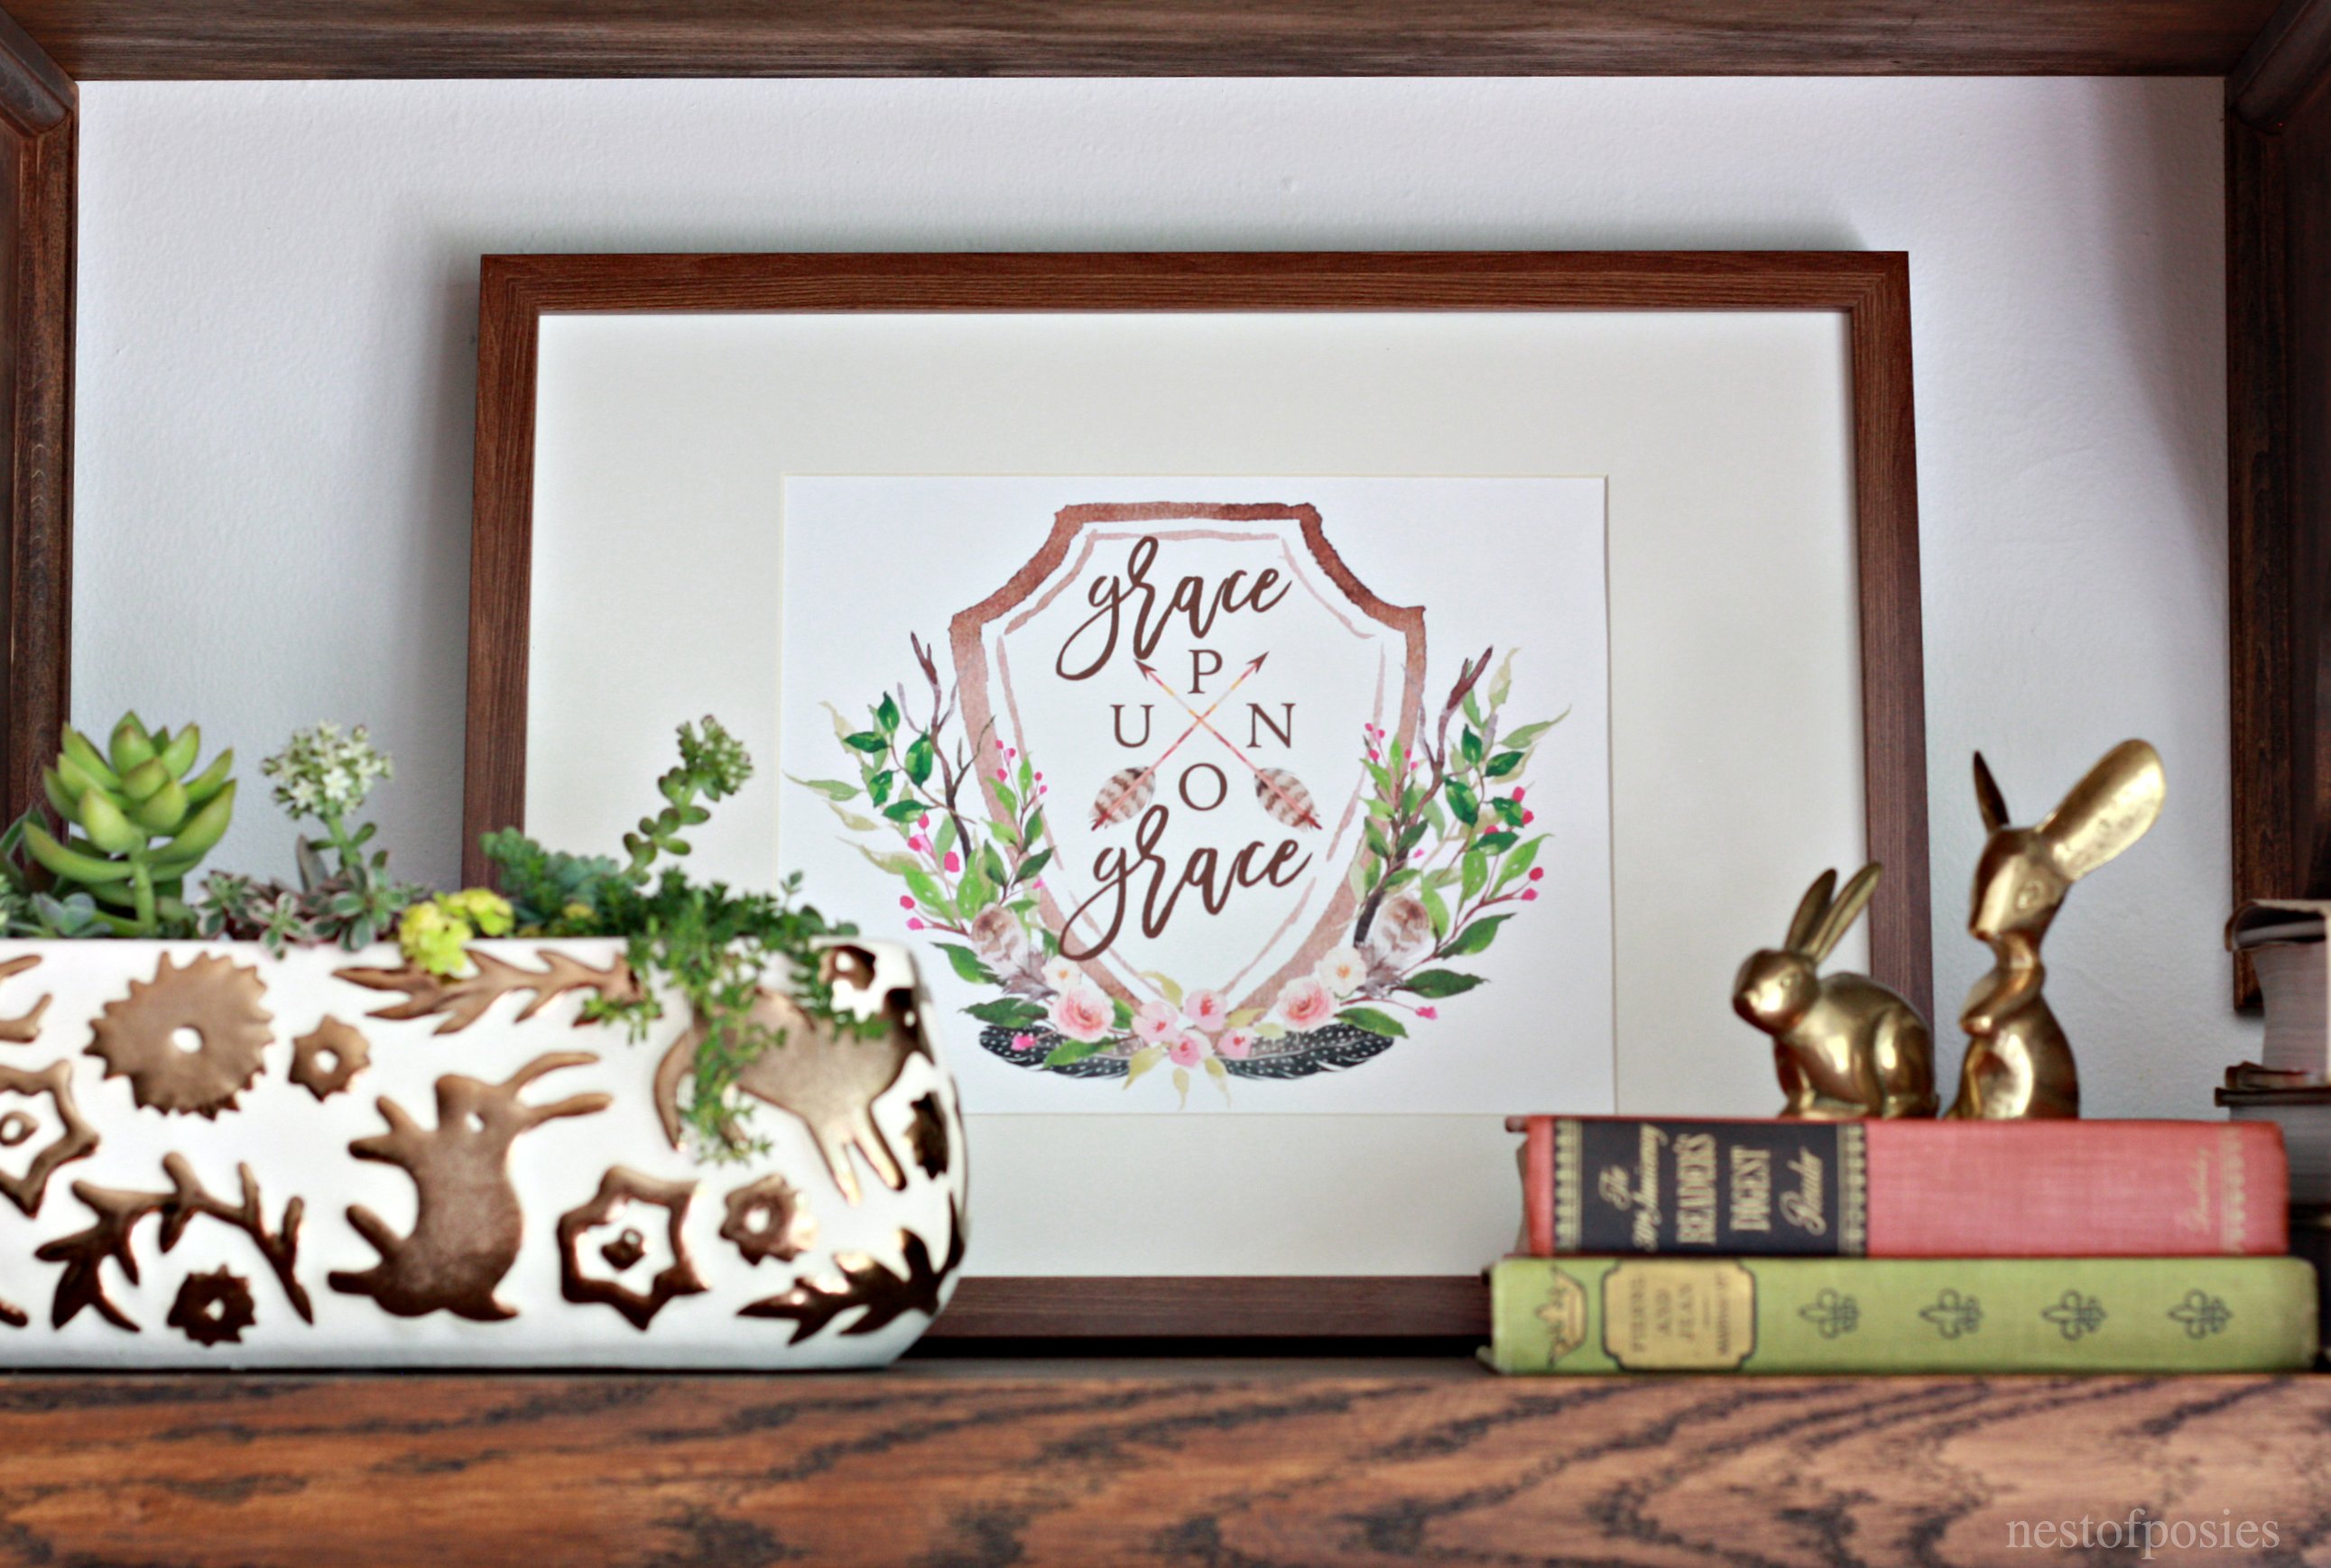
I also made the Grace Upon Grace printable that you can download here, to help add layers to the shelves.
I have a few more things in the works, but for now I am thrilled with how these shelves turned out and the feel they bring to the room. It’s a great way to add personality and collections to any decor.
It’s also fun knowing that the only things I purchased for these shelves was the corbels and the stain!
You can always just purchased bare wood at your hardware stores, and of course corbels or metal brackets. If you wanted to make your own. The process is quite simple, and for the stain – just go light until you find the shade you like! I have 2 shelves left, and they’re going in our kitchen for an open shelf look! I believe I’ll be doing the metal brackets for those. I just have to sweet talk my husband into drilling into our tile. Ack! But hopefully, I’ll be sharing those soon!
You might also like:
Watercolor Floral Crest Printable
