Make this adorable Easter Bunny Cookie Pizza for Easter weekend or to celebrate Spring.
I’ve had this idea for a while in my head, and finally this weekend I made it happen! I thought it would be fun to make my “usual cookie pizza recipe” but this time in the shape of an Easter Bunny. I mean, can it be any cuter?

With it being officially Spring now, I wanted to incorporate all the shades of Easter pastels, Spring flowers, and of course make it delicious in this idea for a cookie pizza. If you all know anything about me, then you know I love holidays, especially holiday eves. And I’m truly a seasonal loving gal. Just gimme a reason to celebrate, and I am there!
As a matter of fact, you can see some of my {seasonal} cookie pizzas by clicking on the links below:
I started making this Easter Bunny Cookie Pizza almost identically to how I created the fruit pizza Christmas wreath. I made an open circle in the center of the pizza pan. You can read how I did it in this post.
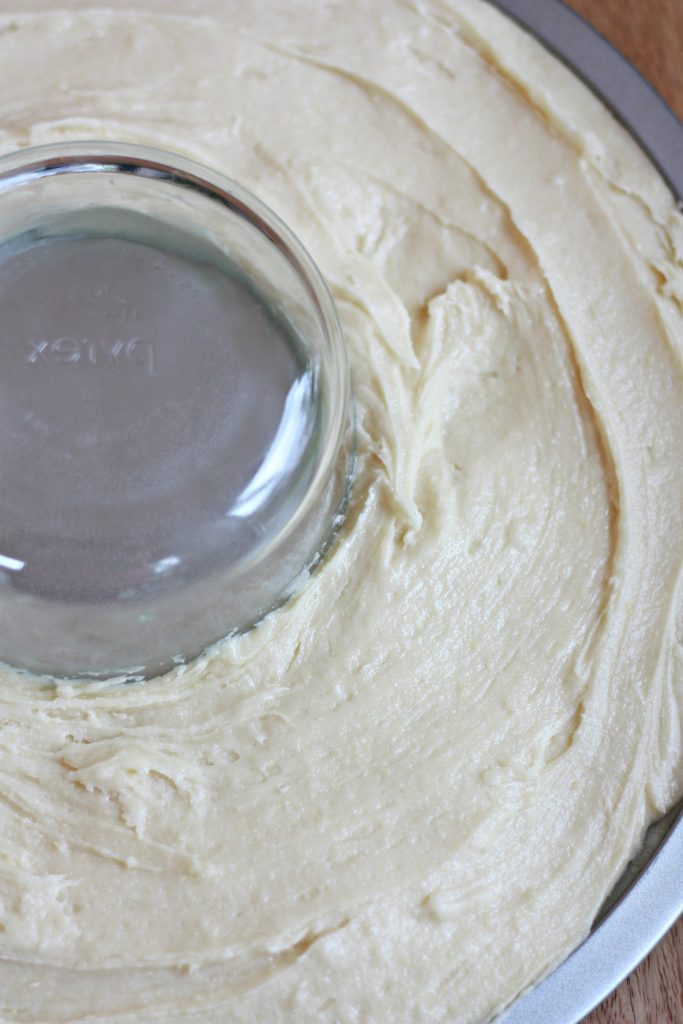
I also used 2 bags of the sugar cookie dough mix to make this Easter Bunny cookie pizza. You will have some leftover! But in order to create the bunny ears, you’ll need to make an extra bag of cookie mix + extra frosting, and I used this template as a guide for my bunny ears.
I wanted to mention that I felt was equally important (and may ease your mind) is that you do not have to do anything perfect! Actually, my main part of the bunny face circle is imperfect. In reality, cracks, breaks, mishaps happen. Embrace them. The frosting will always cover up imperfections.
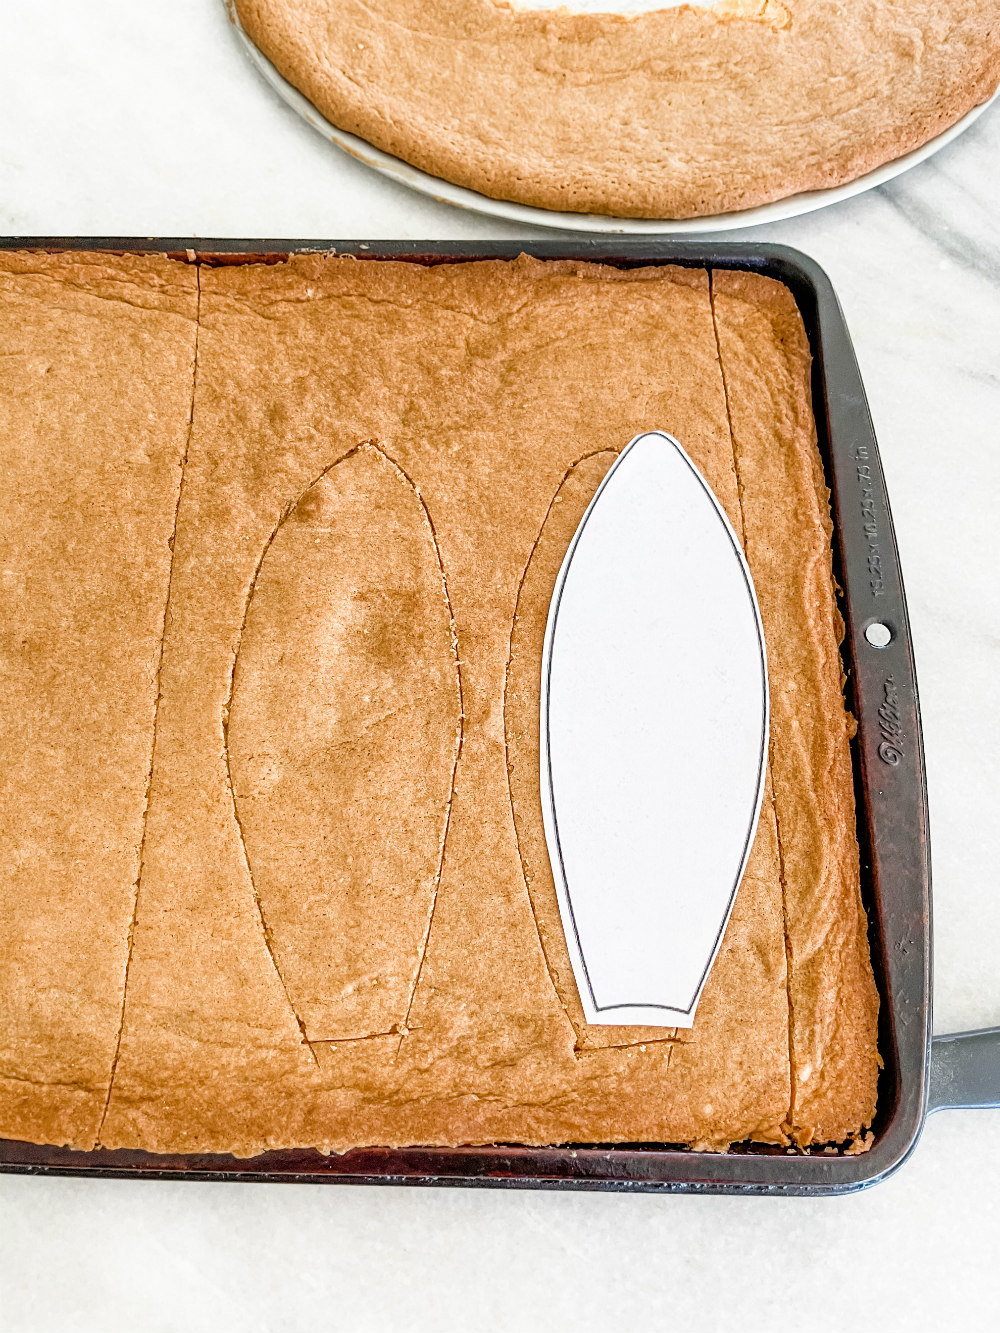
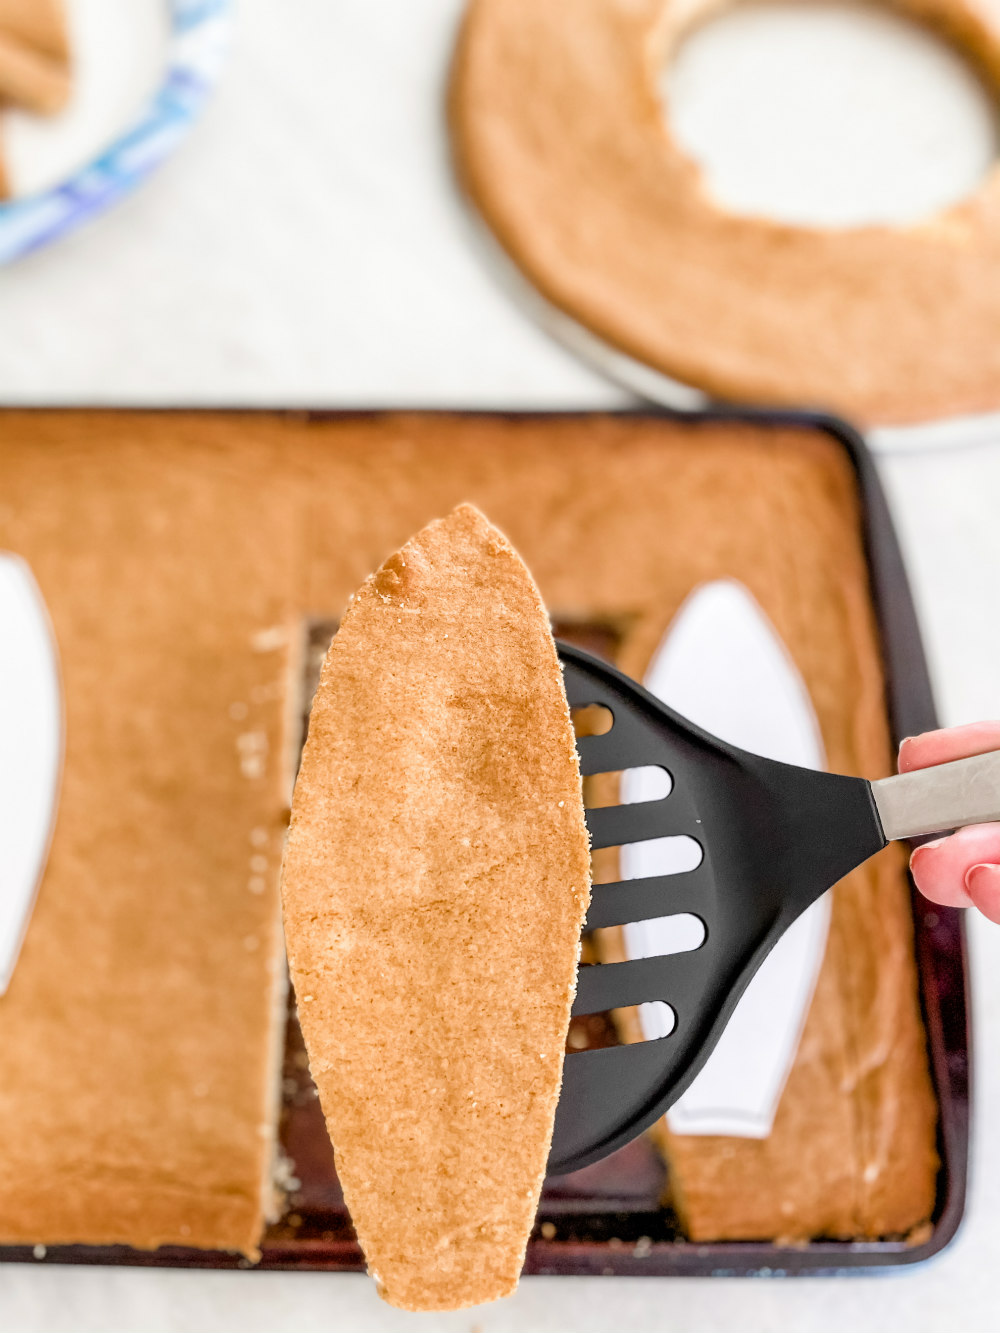
To make this Easter Bunny Cookie Pizza you’ll need:
COOKIE PIZZA BASE:
2 bags of cookie mix (like this one)
(follow the instructions on the back of the bag for mixing ingredients)
2 eggs
2 soften sticks of water
splash or two of water
FROSTING:
2 blocks of cream cheese
2 boxes of powered sugar
2-3 tablespoons of milk (if needed)
TOPPINGS:
fresh flowers
various Easter candies (chocolates and/or Easter pastels)
cookies
fruit
INSTRUCTIONS:
Preheat the oven to 350*
Coat both your baking pans with butter or cooking spray
(I used 1 pizza pan, and a regular cookie baking pan for the ears)
Mix your cookie mix with your egg(s) and stick of butter(s)
Make sure you grease the pyrex bowl, in the same fashion as I did – if you’re going to use it for an open center.
Spread your cookie mix in both pans. I baked each pan separately for about 22 minutes for each pan.
Once your cookie base is cooled, use the template to cut out the bunny ears, or do it free handed.
Mix your cream cheese, powered sugar & milk (if needed) with a mixer until nice and smooth. You can spread it all over the cookie base, ears and the extra amount you’ll have on hand. Or you can spread a light coat across all of it, and set aside some in a bag and decorate it with a cake decorating tip. Of course it is totally up to you on how you decorate your cookie pizza.
Decorate with your toppings of choice.
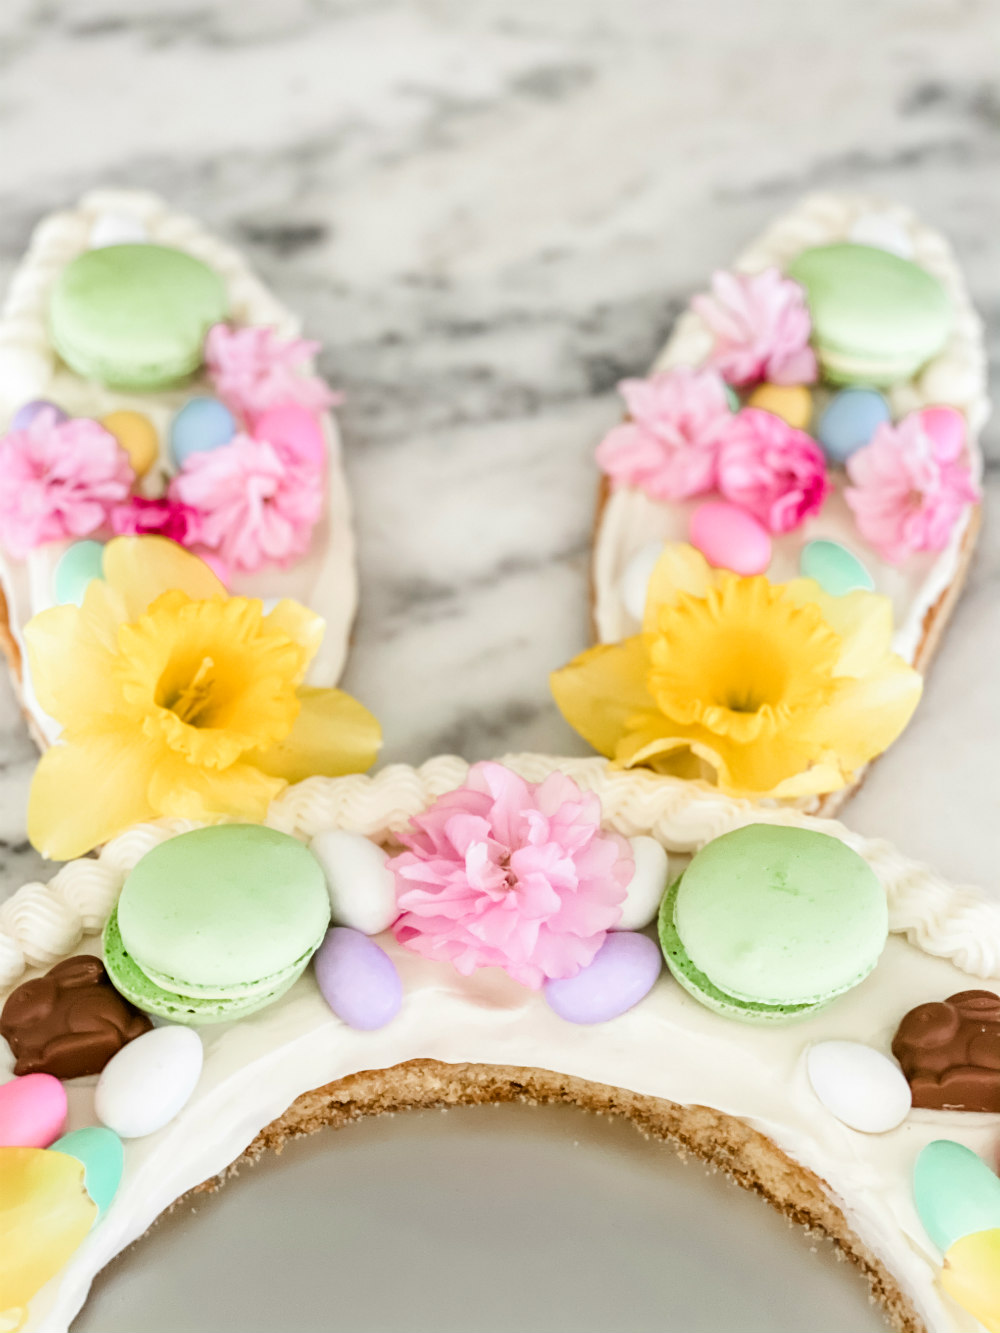
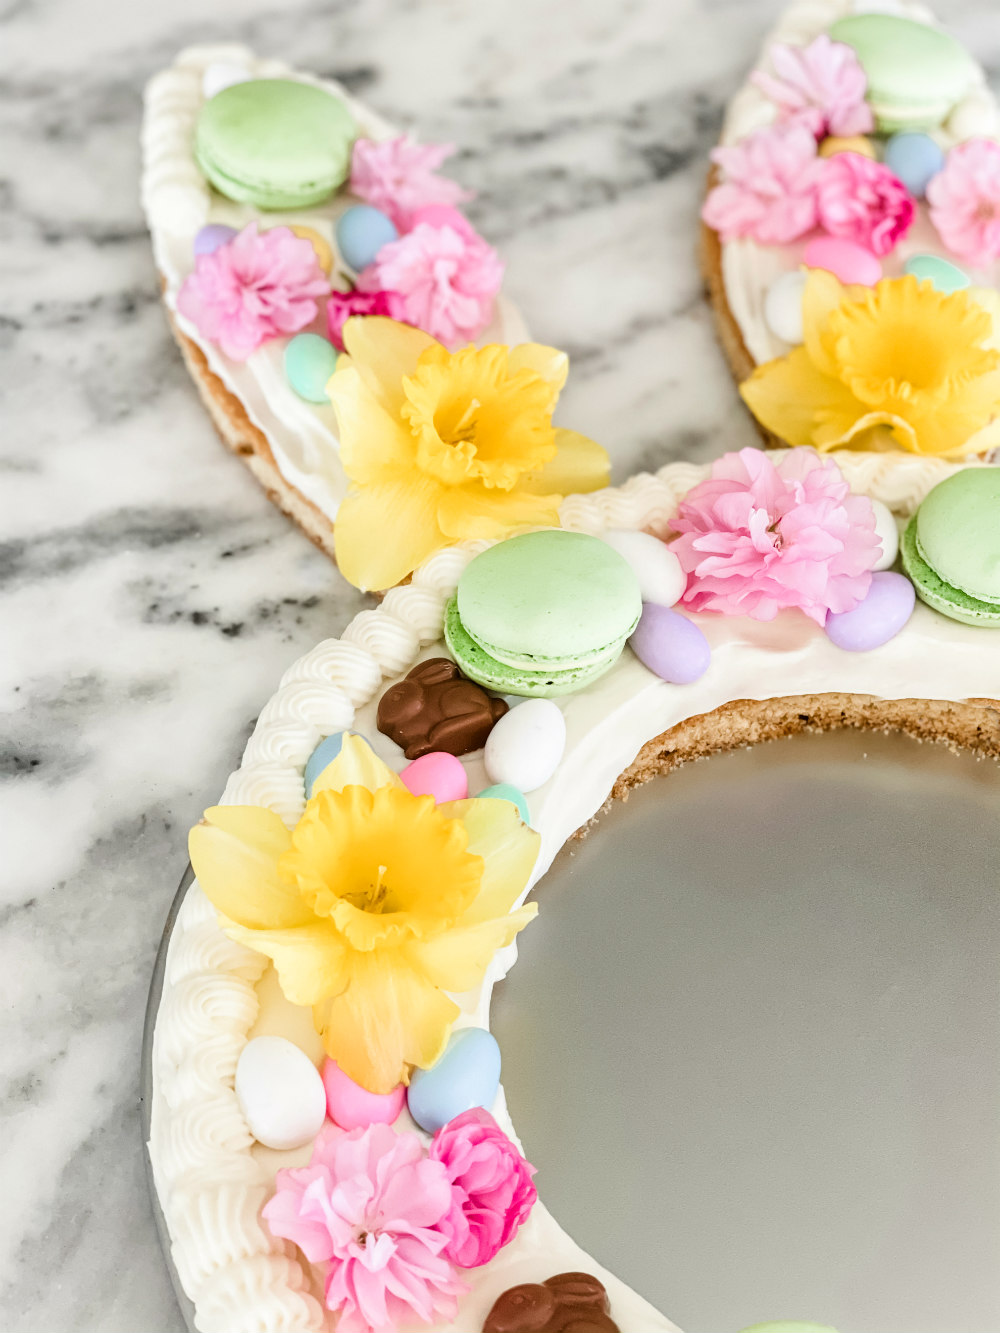
Of course you can add fruit as well as anything else you may have in mind. I was excited to use my own daffodils from our yard, along with some of the blossoms from our trees that are starting to bloom. Awe! Don’t you just love Spring?
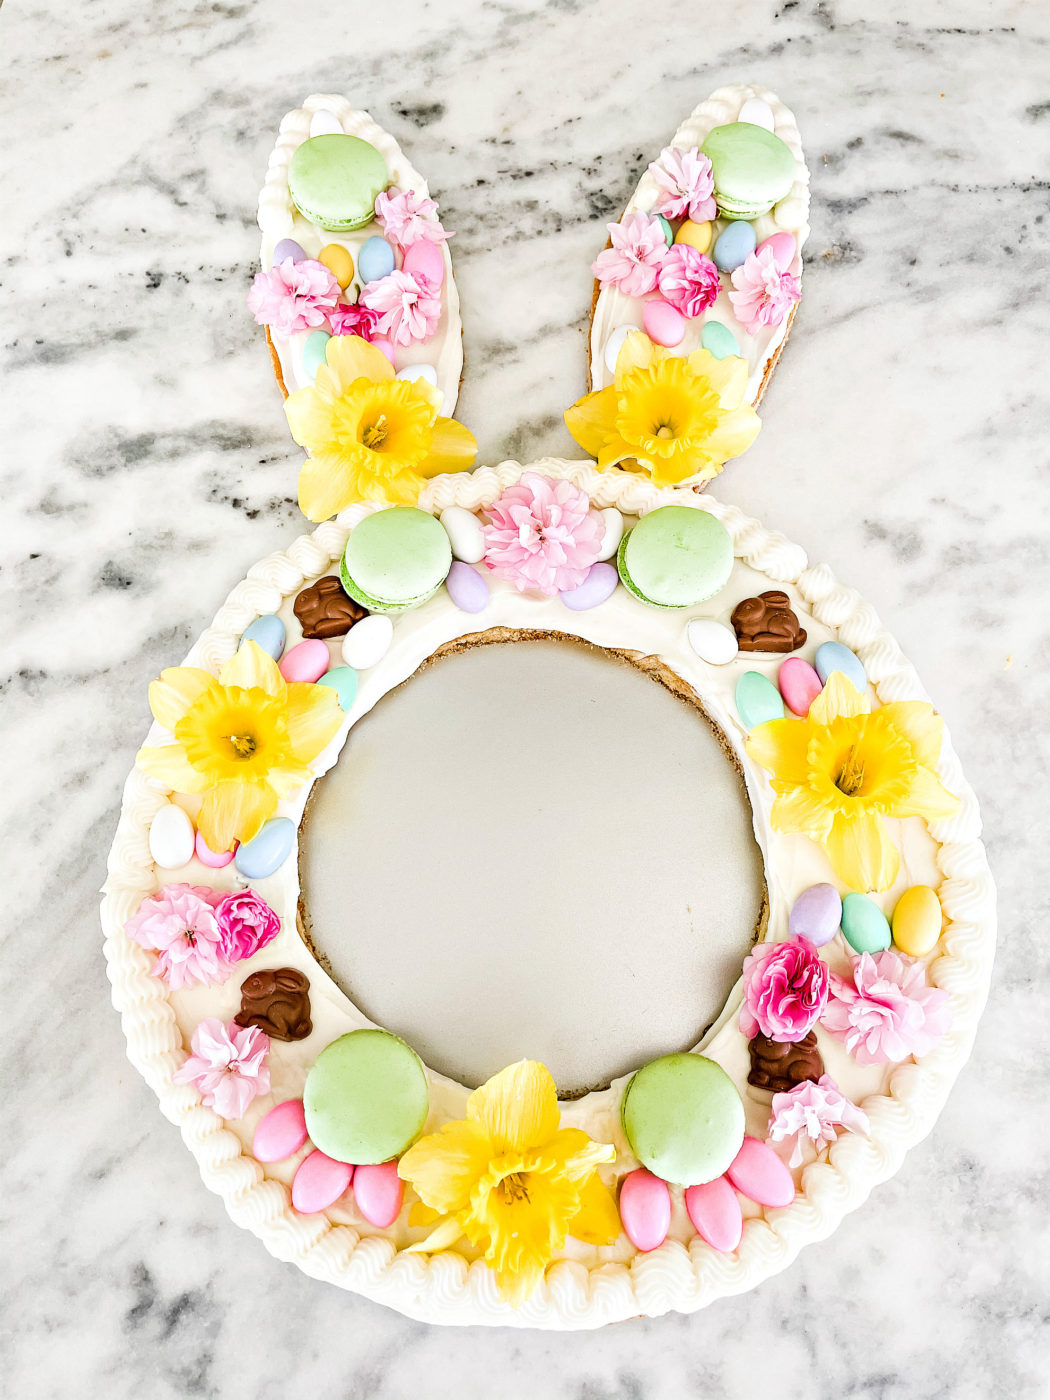
Everything about this makes me incredibly happy!